Saturday, January 30, 2010
Blue Kimono Studio
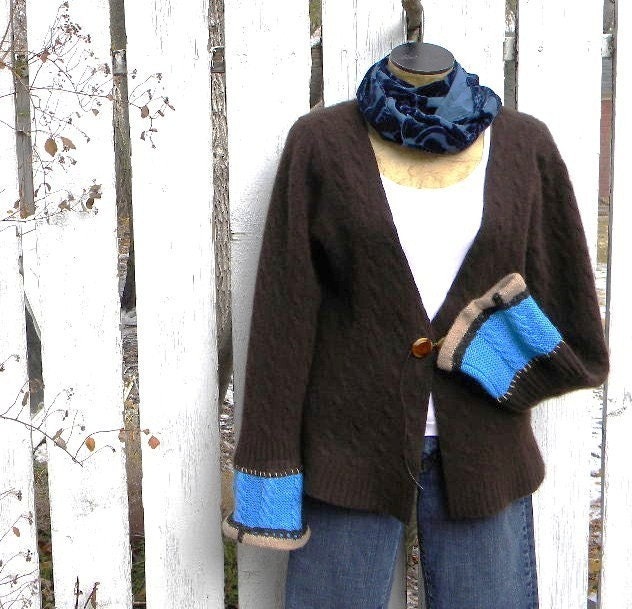
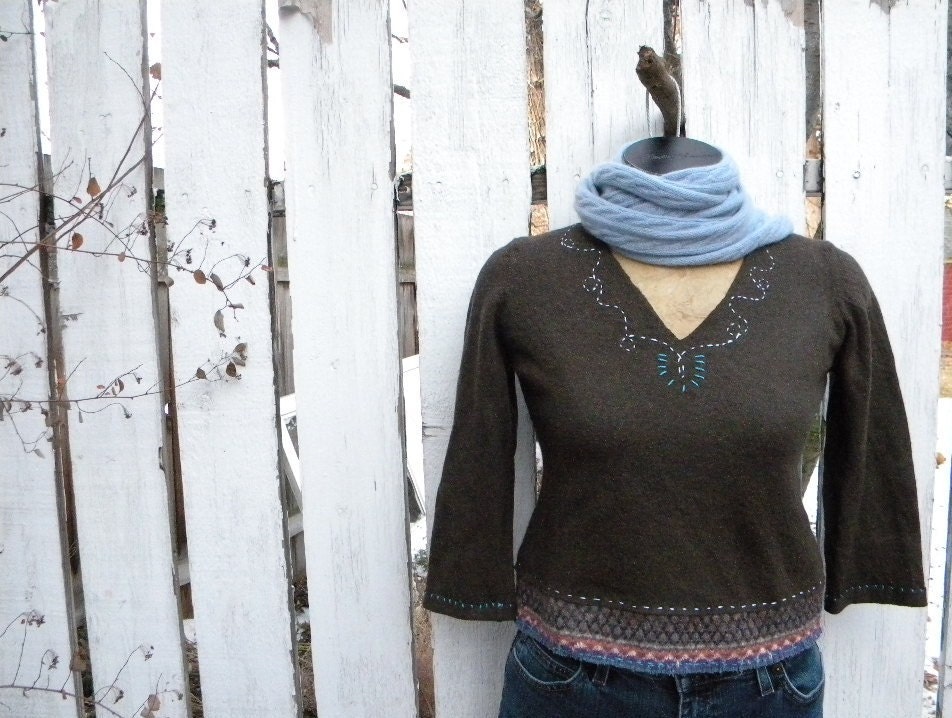
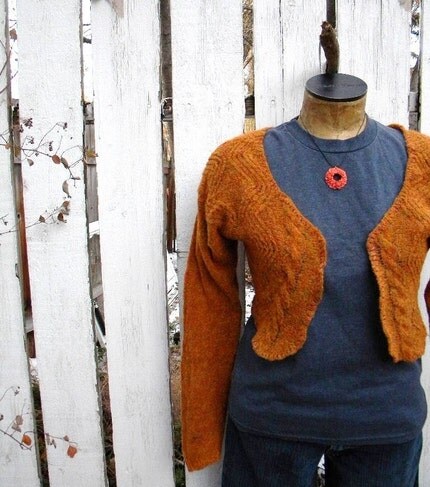
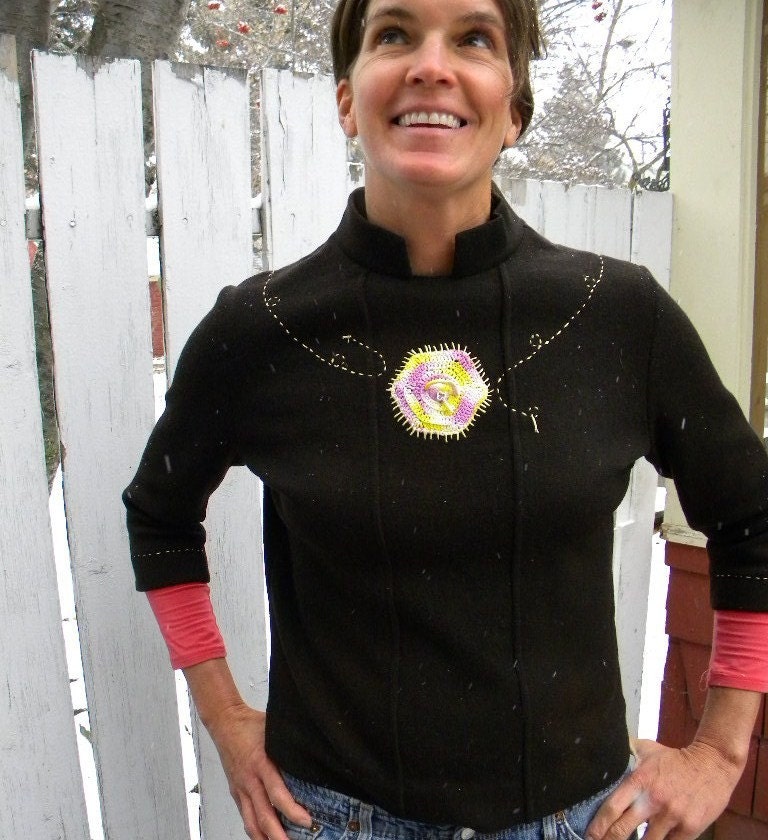
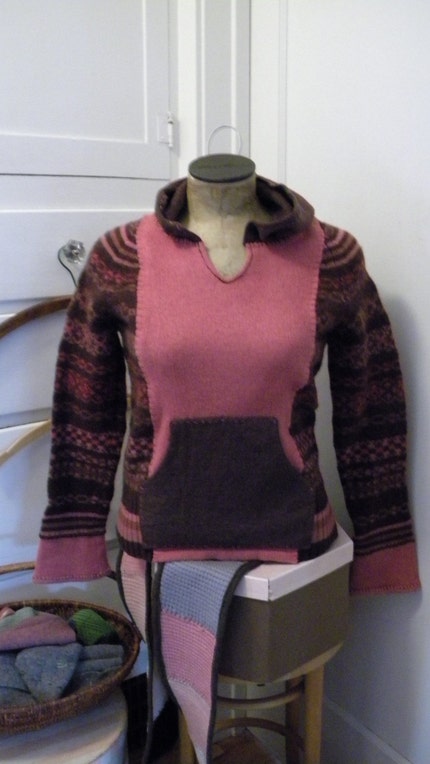
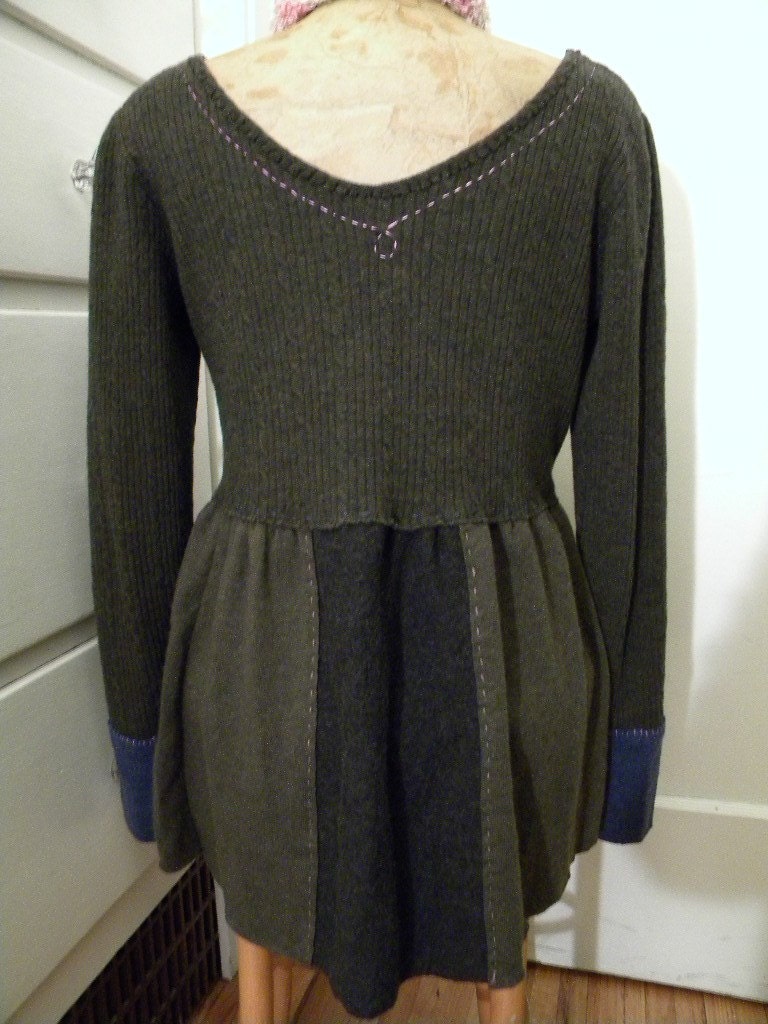
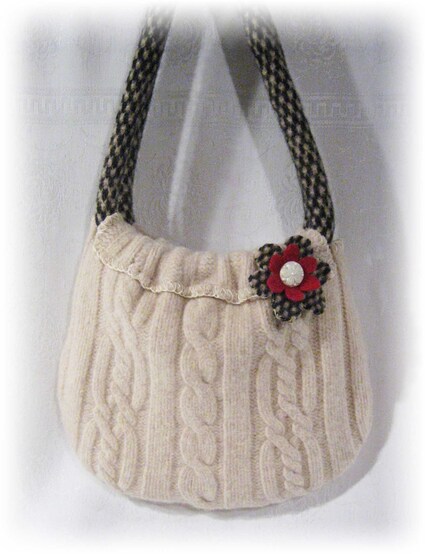
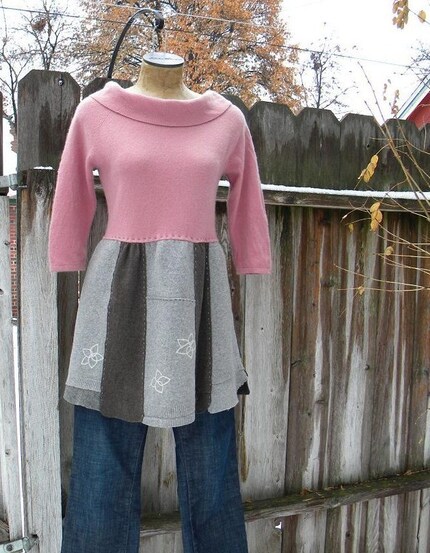
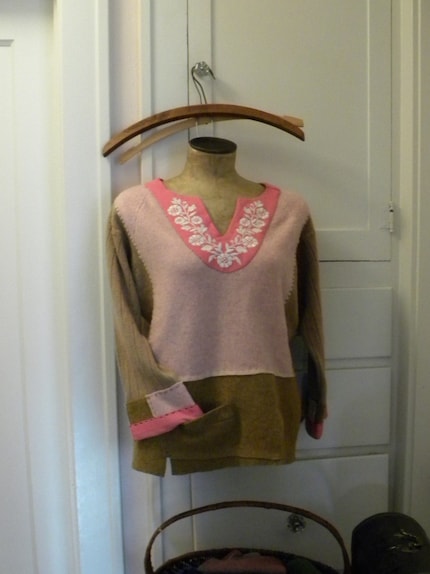
This talented recyclist turns frumpy into fantastic! With her seamstress magic, some embroidery here, an applique there, and vintage button there, she makes old sweaters come alive again. For more of her work, be sure to check out her Etsy shop, Blue Kimono Studio.
Friday, January 29, 2010
Recycled wool socks!!!
I'm so excited about this! I have been wanting to find a great sewn sock pattern for a while now, even posted here hoping someone would know of one. I mentioned it on a Yahoo group I belong to, Art Felt, and Raven came through for me with a few different options. Thanks, Raven! Here are the 3 links:
http://www.instructables.com/id/Socks/
http://www.thriftyfun.com/tf36786850.tip.html
http://www.uen.org/Lessonplan/preview.cgi?LPid=12356
I chose the first link & they turned out great! The tutorial is for fleece, but you can translate just about any fleece pattern into felted wool, because neither of them require seams... they won't unravel. I personally wanted to make socks, not slipper socks, so I can wear them in shoes, like normal socks, so I chose a merino sweater. Merino is normally very thin & stretchy. If you lightly felt it, it will be perfect for socks. If you are just making them to wear around the house like slippers, any felted wool sweaters will work. I used the ribbing on the sweater waist as the tops of my socks, which turned out perfect for holding them up without being the least bit uncomfortable. Sorry for the linty pictures... I should have remembered to clean the lint off my sewing table before using black material, but at least I remembered to shave my legs before taking the pictures ; ) ! Just an fyi... I am a size 11 wide (big feet!), and used a men's medium sweater to make these, and have enough material left to make another pair. If you were making them for children, or have small feet, you should be able to get many pair out of one sweater. I think i'll mess around later & try making some with ribbing added on from contrasting colored sweaters to make funky socks!
Oh, and by the way, if you are looking for merino (or any sweaters), my shop is a great place to look :) I even currently have a really great price on a dark colored merino lot right now.
ETA: I just got back from dropping off my son at school. It is only 5 degrees out & my feet were warm & toasty in my new socks! I will be making more!
Thursday, January 28, 2010
Recycled wool banner for fiber shows
I plan to go to at least one fiber fair this summer/fall, so I am slowly preparing now while it's cold outside, but cozy to spend the day inside sewing. I had my first show last year, and one of the biggest mistakes I made was not identifying myself. Several people asked "what is the name of your business?", and I would tell them & give them a card, but I now know I need a banner. I found an over sized mustard colored scarf months ago & have been hanging on to it until now, specifically for this. All I did was cut out some letters out of scraps, sewed them to the scarf, and used emboidery floss to embroider "reuse, recycle..." on it. It looks even better in person... the colors are more vibrant. It's over 5 feet long & over a foot tall. Now everyone will know who I am!
Wednesday, January 27, 2010
Off topic Thursday - kid snacks
I have Sweater Sunday, and Tutorial Tuesday, so how about one more? Off Topic Thursday! If you guys would rather me stick to recycled wool for every post, just let me know.
Let's talk snacks for kids. My son is a grazer, no way around it! He eats very healthy, but he is constantly moving from one thing to the next. This created a ton of dishes! I use an energy efficient dishwasher, which is said to use less water & energy than hand washing, but we were filling & running it every day. There's just 3 of us! I started using unbleached coffee filters for dry snacks, and it cut down on the dish use significantly. Since we compost, he can just drop the filter in the compost container when he is done.
I was starting to feel like a short order cook, because every 5 minutes i'd hear "Mama, may I have a ....". Since he couldn't reach/make whatever he would ask for, I would always get it for him, but it would interrupt whatever I was doing. It finally occurred to me to put everything at his level & let him help himself. Little glass custard dishes with lids are the perfect size for kiddo snacks, so a couple of times a week, I divide some snacks into them. He has a shelf in a lower cabinet for dry snacks, and a shelf in the fridge for his snacks. The "junky" snacks (not terrible stuff, but not the most healthy) are still in the upper cabinets (he he he), but he can help himself to all the healthy ones. He is 4, and if you know 4 year olds they like to make their own choices. He feels empowered by choosing what he wants, and I don't care because they are all nutritious. Here's what currently in the fridge for him to select: organic plain yogurt with a spoonful of organic all fruit jelly mixed in, organic baby carrots, organic raisins, and red/orange pepper slices.
Money is another factor, when it comes to healthy snacks too, at least in my household. I love to buy organic when I can, but it can be expensive. Some stuff is very affordable though, especially when you divide it up into 4 year old sized portions. Organic baby carrots are $1.69/bag, and has many kid sized servings. The organic raisins are are around $3/bag, and those are divided up into about 10 servings. The organic yogurt ($3), and organic all fruit jelly ($2.50), may sound expensive, but it comes out way cheaper in the end than the non organic sugary yogurts in individual cups. A bag of organic apples is always in my fridge as well. At $3-4 a bag with about 10 apples in it, it's an affordable healthy snack.
Alright, now it's time for comments. I want to hear all of YOUR tricks & tips! What do your kids like to snack on?
ETA: Boy, am I messed up this week! I posted Off Topic Thursday on Wednesday! Talk about off topic! Lol... sorry everyone. I will try harder to remember the days of the week from now on ;)
Tuesday, January 26, 2010
Tutorial Tuesday - Felt play food - Bug Bites Play Food
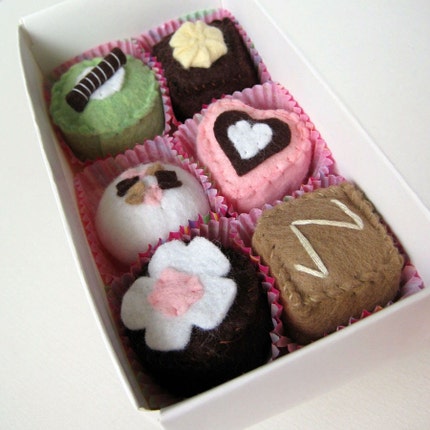
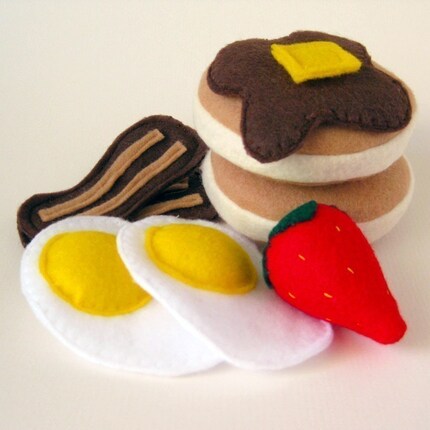
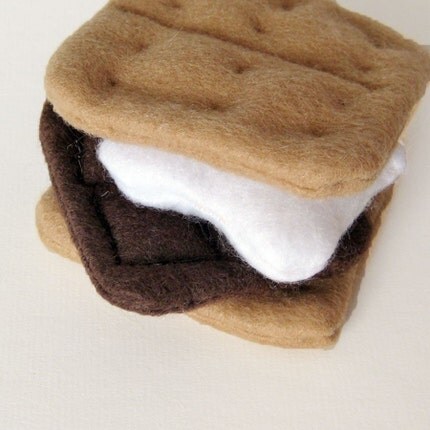
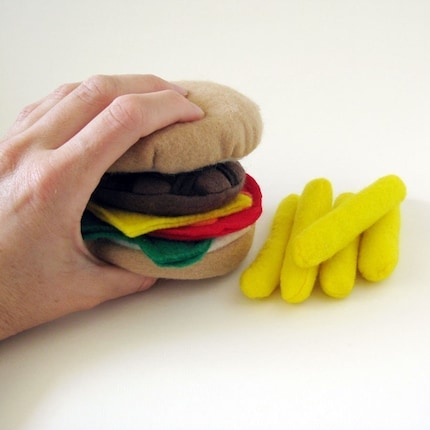
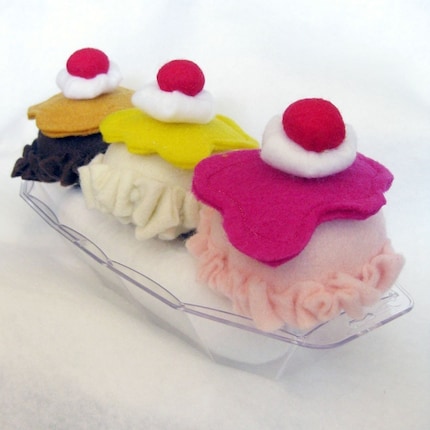
Did you know that just about anything that can be made with craft felt can be made from recycled wool? I did ;) ! I came across this tutorial for play food that Rebecca generously shared. Before I get to the tutorial, here are a few deliciously adorable things you can find in her Etsy shop, Bug Bites Play Food.
If you plan to use recycled wool, I have found that, in most cases, merino wool comes closest in thickness & texture to craft felt. Now on to the tutorial! Thanks so much Rebecca!
"Everyone loves cookies! Especially Little Chefs, so here is my chance to share the love & give you the opportunity to make your own cookies! These are super easy, fun & infinite variations are out there for color & design combinations. Have fun! Supplies:
Scissors Cream Felt Pink Felt
Cream Thread
Pink Thread Needle
Poly Fill or Wool Stuffing
1. Cut out 2 Cream felt (2 1/2") circles; Cut out 1 (2") Pink Felt circle, scalloping the edges however you like.
2. Pull out an arm's length of pink thread. Double up the thread so it is 2 strands thick. Tie a knot in the end & thread it on the needle. Starting on the underside of the cookie, bring the needle up through the 2 layers & back down. Continue along the edge of the pink felt in this whip stitch. Continue until you reach the beginning point & tie off the thread underneath the cream felt so the knot is not visible.
3. Pull out another arm's length of cream thread (Brown thread shown here for visibility). Double up the thread so it is 2 strands thick & tie a knot in the end & thread it on the needle. Insert the needle between the 2 layers & bring it up through the top layer (frosting layer) only - this is so the knot is hidden between the 2 layers.
This seam will be finished with a Blanket Stitch, which looks nice & neat, but you may finish with the same Whip Stitch as used with the frosting along this edge if you prefer. Confused about a Blanket Stitch? See this tutorial from Primrose Design.
Continue the Blanket stitch until you are about 1-2 inches from the starting point. Stop here.
4. Now take your Poly Fill stuffing & fill the cookie.
5. After the cookie is filled, continue your Blanket Stitch & close up the hole. Tie a knot at the starting stitch & take the needle through the middle of the cookie, bringing it out anywhere & cut the thread so it tucks back inside.
You are finished! Looks great, you did it & are on your way to being a Master Felt Pastry Chef. There are endless variations of frosting & cookie color & design combinations to play with. Try different shapes, colors & toppings for each cookie. Think felt, beads, french knots, etc... I'd love to see what you come up with! Cheers!"
Sunday, January 24, 2010
Mmwolters, flower pins & purses
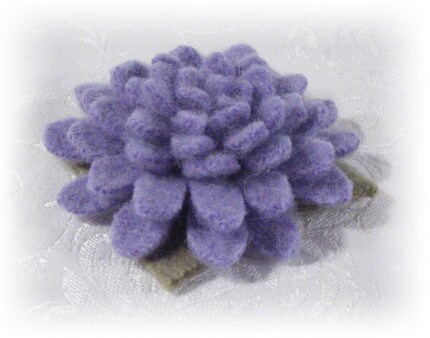
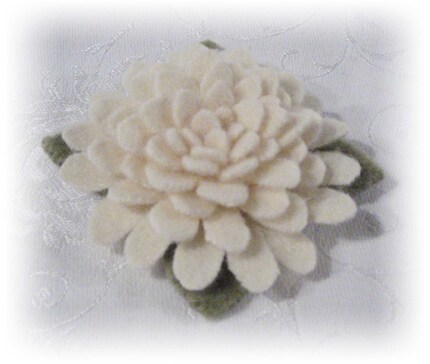
I decided to look on Ebay to see if there were any crafters/artisans that sold their recycled wool goodies there, and found mmwolters. Not only does she sell on Ebay, but she has an Etsy shop under the same name as well. She sells cute purses, beautiful flower brooches, and pretty pincushions. Those cheerful flowers remind me of spring, so I was happy to find them :) I was unable to copy any pictures of the lovely things she has on Ebay, so you will have to visit there to see them all.
Friday, January 22, 2010
Cool recycled accent lighting
I featured Sassy Crafter's fantastic recycled wool purses last year on my blog. Not only does she make really cool recycled wool purses, but she makes the coolest recycled art using percolators, eggbeaters, & more. Her java not lava lamp, on her blog, really stuck in my head, so I picked up an old percolator during my sweatering, and had my husband drill the holes for me. It got hot fast with regular lights, so I used LED Christmas lights, and it's cool now... literally. Last Sunday I picked up a stainless steel colander, so I have a pair of cool recycled "lamps" now. The really cool thing about them, is that if they are near a wall, they project little dots of light all over it! The pictures don't do them justice. I have since stuck a couple of the bulbs in the clear glass top of the percolator, and it looks even better.
ETD: I talked to Sassy Crafter, and she said she will be adding some more of her percolator lamps soon, so you can get one of your own! She also said she'll be adding a new kitchen themed lamp as well. I can't wait to see what it is!
Thursday, January 21, 2010
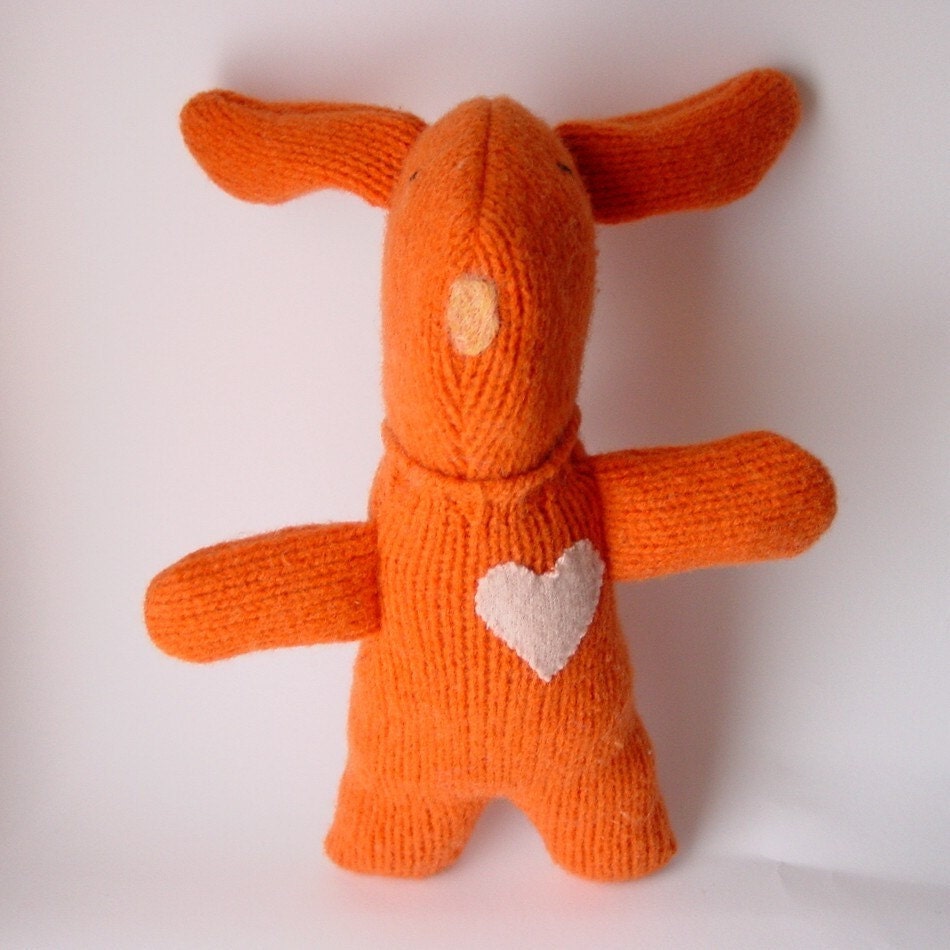
Palomino Morgan
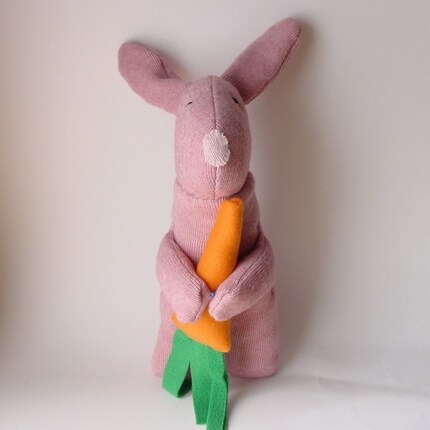
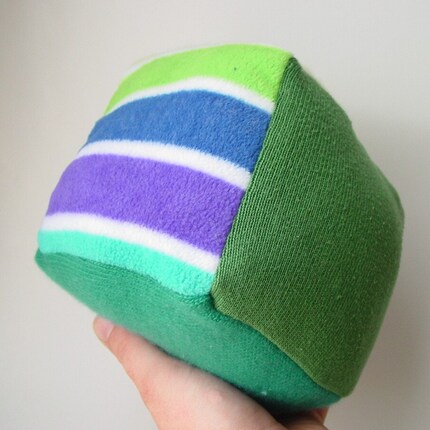
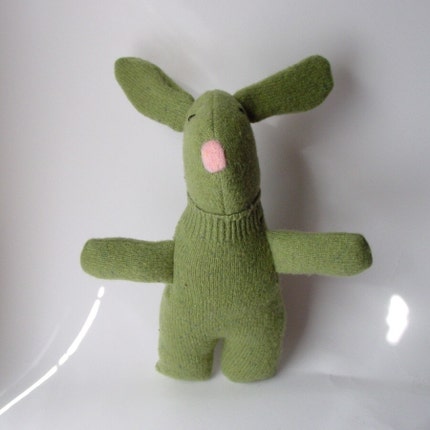
I was surfing around the crafty blogosphere last night, and ran across Palomino Morgan's Etsy shop, "Home of the quirky and always opinionated bunnies!". The cuteness was overwhelming! I just love these super cute recycled bunnies! I'm bookmarking this one for Easter... beats Peeps & made in China toys any day! In addition to the sweet bunnies, she carries some great baby items, like sensory blocks, and baby blankets.