
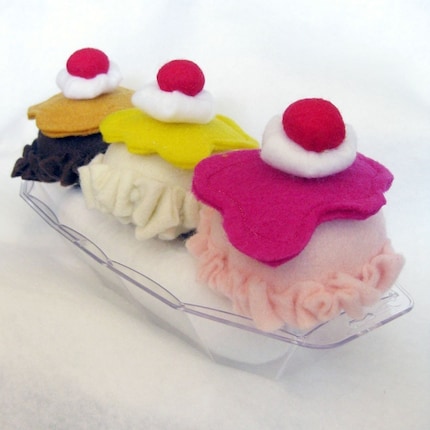
If you plan to use recycled wool, I have found that, in most cases, merino wool comes closest in thickness & texture to craft felt. Now on to the tutorial! Thanks so much Rebecca!

"Everyone loves cookies! Especially Little Chefs, so here is my chance to share the love & give you the opportunity to make your own cookies! These are super easy, fun & infinite variations are out there for color & design combinations. Have fun! Supplies:
Scissors Cream Felt Pink Felt
Cream Thread
Pink Thread Needle
Poly Fill or Wool Stuffing
 1. Cut out 2 Cream felt (2 1/2") circles; Cut out 1 (2") Pink Felt circle, scalloping the edges however you like.
 2. Pull out an arm's length of pink thread. Double up the thread so it is 2 strands thick. Tie a knot in the end & thread it on the needle. Starting on the underside of the cookie, bring the needle up through the 2 layers & back down. Continue along the edge of the pink felt in this whip stitch. Continue until you reach the beginning point & tie off the thread underneath the cream felt so the knot is not visible.
3. Pull out another arm's length of cream thread (Brown thread shown here for visibility). Double up the thread so it is 2 strands thick & tie a knot in the end & thread it on the needle. Insert the needle between the 2 layers & bring it up through the top layer (frosting layer) only - this is so the knot is hidden between the 2 layers.

This seam will be finished with a Blanket Stitch, which looks nice & neat, but you may finish with the same Whip Stitch as used with the frosting along this edge if you prefer. Confused about a Blanket Stitch? See this tutorial from Primrose Design.
 Continue the Blanket stitch until you are about 1-2 inches from the starting point. Stop here.
 4. Now take your Poly Fill stuffing & fill the cookie.
5. After the cookie is filled, continue your Blanket Stitch & close up the hole. Tie a knot at the starting stitch & take the needle through the middle of the cookie, bringing it out anywhere & cut the thread so it tucks back inside.

You are finished! Looks great, you did it & are on your way to being a Master Felt Pastry Chef. There are endless variations of frosting & cookie color & design combinations to play with. Try different shapes, colors & toppings for each cookie. Think felt, beads, french knots, etc... I'd love to see what you come up with! Cheers!"

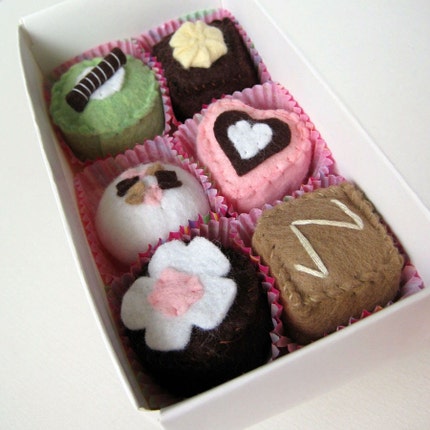
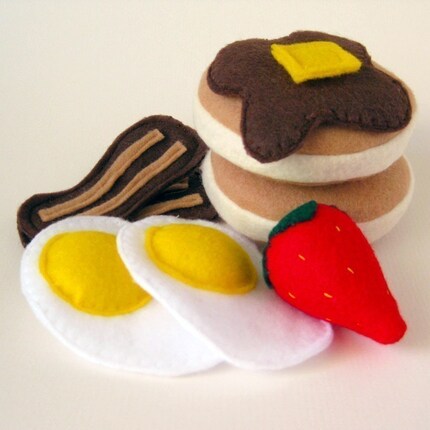
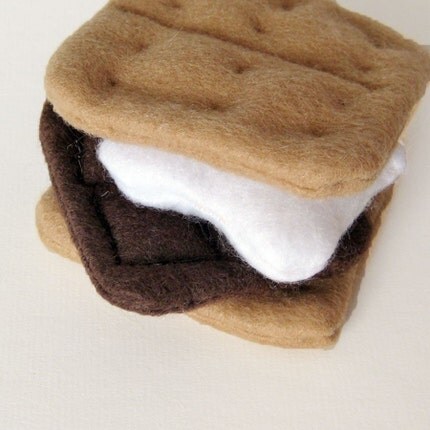
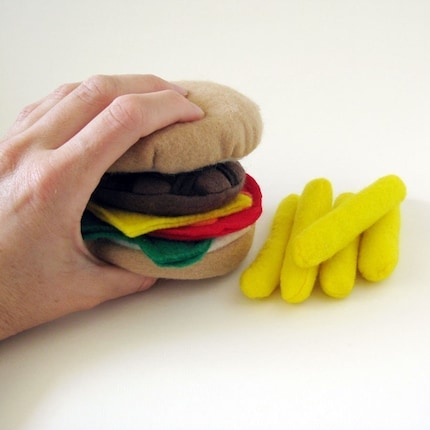
I just love the felt made play toys food that is.They almost look identical and moreover they are so safe for the soft and delicate hands really.
ReplyDeleteSo Yummy, good enough to eat. ha, ha, cheers Marie
ReplyDeleteThanks for posting my tutorial - I really enjoy reading your blog and am getting "itchy" (so to speak) to go get some sweaters and make those dryer balls!
ReplyDeletehi kris!
ReplyDeleteoh i love this post and tutorial!
thank you so much for sharing it!
Hi- I just discovered your blog, so I am still trying to figure out about this whole "resweater" concept- do you alway "felt" the sweater before you cut it up to make things, like this play food for example? Or do you just plunge right in with scissors and cut out the shapes to sew together? This is all so interesting to me- I'll read on, but I still haven't found the basic info yet, so just thought I'd ask. Thanks!
ReplyDeleteHi Emily,
ReplyDeleteI created a FAQs page that will answer your questions and more!
http://resweater.blogspot.com/search?q=faq
Welcome to the world of wool, but be warned... it's addicting ;)
Kris :)