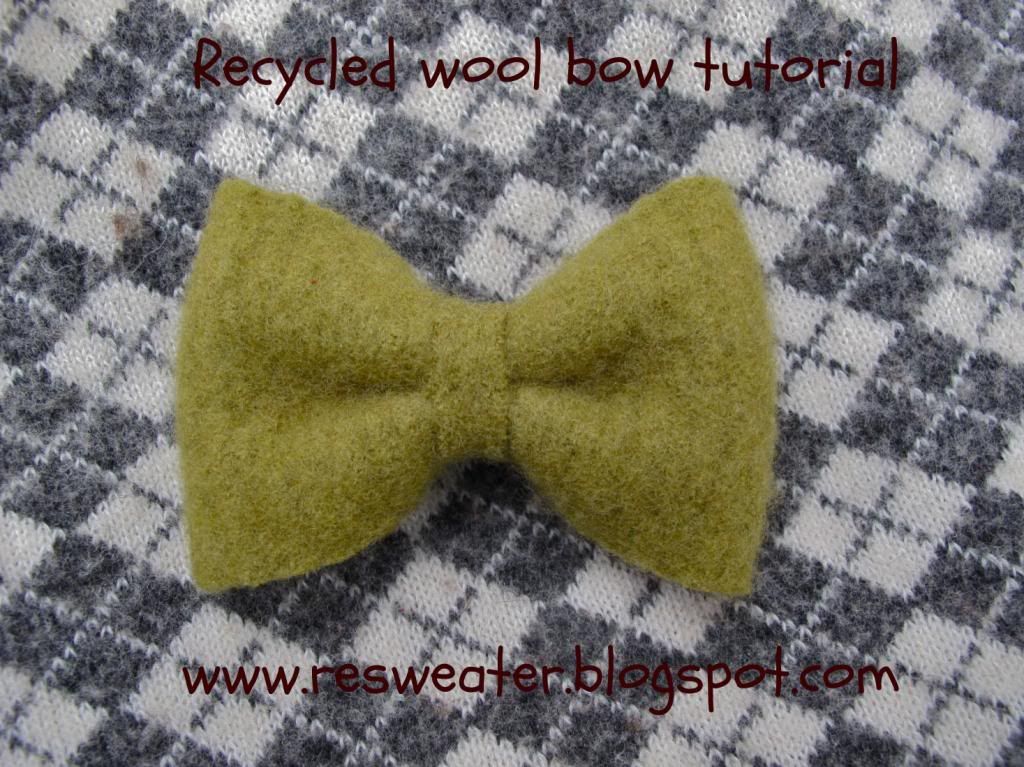
This is such a versatile and easy project. These take me under 5 minutes to make, but look so nice! Ready to learn how to make these yourself? First you cut your pieces of felted wool. You can tweak this to get different sizes, but for this tutorial I used 7" x 2 1/2" for the main piece, and 1 1/2" x 1/2" for the small piece.

Once you have your pieces cut, take the main piece and fold it in half. Sew the 2 ends together. It doesn't matter what the stitching looks like, because you won't be able to see it when your bow is complete.

Leave the needle/thread attached, and move the sewn seam to the center.

Now fold the width of the bow in half, so the seam is facing you, and the ends are facing away.

Now, while keeping the center pinched, fold the sides back toward the seam. The middle should resemble a W.

Now, while keeping that "W" pinched in the middle, wrap the small strip tightly around the center and sew into place.


Now flip it over and voila! You have a bow!

From here there are endless things you can do with your bow. Sew a hair rubberband to the back for a hair bow...


Sew a loop of elastic to the back and slide it onto your dog's collar. I apologize for the bad pictures... Spots was not being a cooperative model ;) ...


and of course you can use this as a classy bow tie too! Just sew a small strip of wool, or fabric, to the back, to go around the neck, with a little velcro at each end. My child model declined this photo op, so this picture will have to do, but it's much cuter on an actual boy ;)...

You can use these bows to embelish purses, presents, barrettes... you name it! Watch out though. Once you start making them, you cant stop!
I never mind anyone blogging, tweeting, Facebooking, Pinning, etc. any of my tutorials, but please always link back to my blog, instead of cutting/pasting the tutorial to somewhere else. Thanks, and enjoy! :)


