Tuesday, March 30, 2010

Tutorial Tuesday - Lavendar Tree's beaded coasters


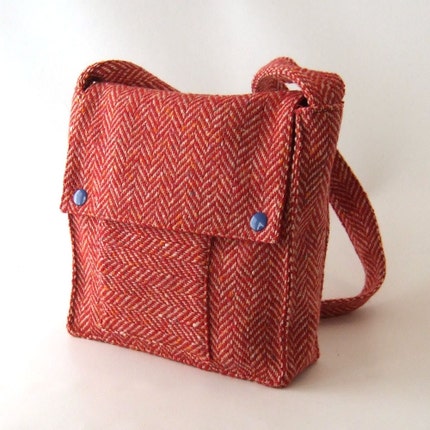
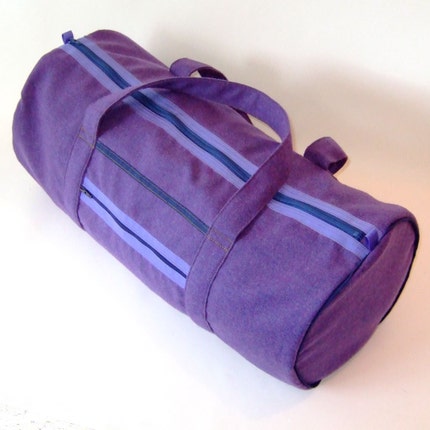
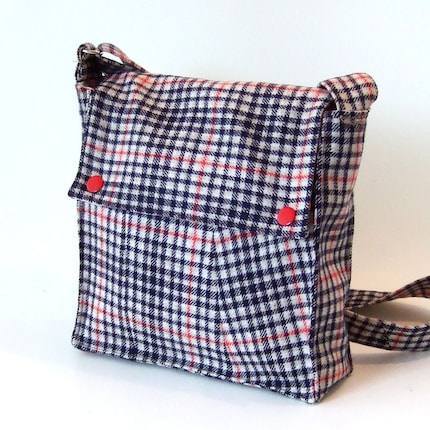
I featured Ann's fabulous Etsy shop, Lavendar Tree, a while back, and even hosted a giveaway for one of her gorgeous pillows. She is one talented recycled wool artist, and she has generously given me permission to share her awesome beaded coaster tutorial with all of you! I love this tutorial for so many reasons... you don't use a sewing machine, so anyone can make them, you can reuse beads from a thrifted, broken, or unloved necklace, you can use wool scraps left over from bigger projects, you can make these while sitting on the couch watching tv, and they turn out great! They do take a little while, so if you love these coasters, and want instant gratification, you can buy them in her Etsy shop!

Enough of my babbling! On with Ann's tutorial! Please note that I am copying & pasting directly from her blog. Thank you Ann!!!!!

Wool Coaster Tutorial

As promised, here's a short tutorial for some fun and easy coasters.

WOOL COASTER TUTORIAL
Trace and cut 8 circles from felted sweaters. The ones I made are about 4 inches across. I use a variety of things for templates - I believe this circle template might have originally been the cover to a yummy cream cheese container (after it's washed first, of course!).


Line up and pin two circles to each other.

Using a thin yarn, stitch a blanket stitch around the outside of the circle sewing the two pieces together. Before inserting your needle to begin a new blanket stitch, slip a bead onto the needle and slide it down to snuggle up to the last stitch next to the wool.


TIP 1: Try to estimate how much yarn will be needed for the entire coaster before cutting. It helps prevent having to knot, end off and start a new piece of yarn.

TIP 2: You can make a small knot when beginning your stitching and hide it in between the two layers of wool by catching just a snippet of wool with your needle further into the circle's center and then your next [beginning] stitch can start along the outside edge.

Finish all four coasters in the same manner and you now have a great set of sassy coasters. Set them immediately on your coffee table or use a piece of ribbon or twine to tie them together in a neat little pile. It's a great way to present them as a gift!


I tried one myself, for my mug of coffee on my desk in the morning, and I was very pleased with the results! I might remove the mug applique, but the beading looks great!


Update: I decided I definitely wasn't happy with the mug applique, so I removed it and machine stitched in a circle pattern (like my trivets), and am much happier with the results now.

Monday, March 29, 2010

recycled wool dog bed


I know, i'm breaking my blog schedule again, lol. A new dog needs a new bed, so I set to work yesterday. I apologize in advance for the terrible pictures. I had an idea of what I wanted to do, so I came home with a fleece baby blanket and a long thick fleece scarf from the thrift store yesterday.

I cut 2 circles out of wool blanket pieces I had, and Spots needed some spots on her bed, so my son picked out the scraps to become the spots. The bed IS perfectly round, the pictures were just bad.


I folded over the width of the scarf and that became the sides of the bed. I sewed the 2 circle pieces to the scarf, but I left a 10" opening between the 2 wool layers, so I could slip the folded fleece baby blanket in for padding. I thought I would have to use buttons or something to keep the gap closed, but you can't see it when it's on the floor, so I left it alone. She's standing on one edge of it, tipping up the end with the gap. That's why you can see it so well in the pic.

I know it looks really small, but when I lay out a big blanket, she scoots it around into a nest & curls up into a tiny ball. She sleeps in that position, so I thought she'd like a tiny nest like this, and I was right. I had a really hard time taking a picture of the finished bed without her in it! She loves it :) I plan to make another, so she has one in the bedroom, and one in the family room.

Saturday, March 27, 2010

New addition to the Resweater family!


Meet Spots! We just adopted her from the local county animal control, and she is already a member of the family! She's about a year old, looks to be a beagle/pit bull mix, seems to be house broken and is a really sweet girl :) Ain't she cute? Yes, that's recycled wool she's laying on ;)

Friday, March 26, 2010

Feature Friday - Wooly Bison


I have lots of bags, and do not need any more (I just have to keep telling myself that!), but when I saw these fabulous bags made from recycled wool suits, and other garments, in Wooly Bison's Etsy shop I began to crave! These bags are simple, functional, and sturdy, yet so beautiful too. To find more Wooly Bison bags and to see what Ingrid is up to, you can find her on her website, Flickr, and Twitter!


Thursday, March 25, 2010

Off Topic Thursday - Me & my shadow


I was at the park earlier in the week and snapped this picture. I don't know why, but I really like it... minus the looking wider part because of the angle of course ;) . Maybe it's because it's something different. Maybe it's that I never get pics of Jack & me together, because i'm always the one taking pictures. Maybe it's just a good memory of a good day :)

Wednesday, March 24, 2010

New diaper covers


I know, I know... I said I wasn't going to be posting on Wednesdays and you're tired of seeing my diaper covers, but i'm especially happy with how this batch turned out, especially the monster faces. The colors really "pop" in real life, though they look a little faded in the pic. I had a soft fuzzy purple 75% wool/25% mohair that was perfect for them, and lined them with super soft merino, so they are bulletproof (no leaks in cloth diapering lingo) and super soft n' cozy!

Tuesday, March 23, 2010

Tutorial Tuesday - recycled wool Easter basket!


I am glad I decided to take the time to make Jack his basket this year. It turned out nice, and we will enjoy it year after year. He really likes it and is hoping the Easter bunny will bring him Panda Puffs (his favorite cereal) and dried strawberries. He's making it too easy for the Easter Bunny ;)

Ok, on with the tutorial! First felt the sweater you will be using, then cut straight across at the armpits, unless you want a shallower basket. You can cut it lower to make it shallower. The size of the basket depends on the size of sweater.


Now you have a sweater tube. If you are planning to embellish this is the best time. I made egg appliques out of colorful scraps and sewed them all around. Now take the narrower end (on mine it was the waist) and fold it inside, so the 2 edges are together and the fold will be the edge of your basket.


Determine whether or not you want a round or oval bottom (you may not have enough enough sweater to make a round bottom, depending on the sweater), hold the folded tube in the position you want and trace it on a piece of paper or cardboard. That will be your pattern, and you can cut a piece to make the bottom of the basket with it. I recommend cutting 2 pieces to double it, if you are not using a thick felted sweater, like I did.


You can now sew your folded tube to your bottom with your "right" sides (the sides you have embellished and/or want on the outside of the basket) in. I was thinking I would have to sew it by hand because of the thickness, but the 3 layers just fit on my sewing machine.


Now cut 2 strips the length, but twice the width (+ seam allowance), you want the handles to be. fold them over right side in & sew them shut. You can pin them if you want, but I just did it to show where you will be sewing.


Now turn your sewn tubes inside out, so the seam & "wrong" sides are on the inside. You can leave them tube-like, or sew down each side to make them flatter, like I did, depending on how you want your handles to look.


Now just sew them on where ever you want the handles to be. There was no way my sewing machine could handle all of those layers, so I sewed the handles on by hand, stitching the usual square with an X in the middle (is there a term for that?). I'm probably going to redo them, since I did a sloppy job of getting them on, but they are still on good, even if I don't. Now it's ready for Easter goodies!

Monday, March 22, 2010

Not cool

Someone that reads my blog has copied my shop. The shop I have worked so hard to build. The shop that inspired this blog that I have freely given advice, tutorials, and ideas on. It is not the fact that they are selling wool sweaters, but the fact that they blatantly copied everything about my shop... my prices, the wording of things, the way I number my sweaters, the way I take pictures of them, etc. I have worked so hard to build what I have, and they have come along and copied everything I have done without any creativity. It is amazing that one mother could do that to another mother and still sleep at night.

Saturday, March 20, 2010

Resweater hats and new blog schedule


I have been making hats to sell at the fiber fairs this summer, but realized that when you look at them on the rack, you have no idea how they will look on a head, so I asked my friend to model them for me, so I can have a little poster on my rack. Isn't she beautiful & fun?

I apologize that i've been slow to blog lately. Since summer is coming, and things will get busy around here, I decided to put my blog on a schedule. I do well with schedules. This also gives me a couple of days off from blogging to refresh, sew in between, and research new things. The new schedule is:

Sunday - Sweater Sunday: show the sweaters I got during the week
Tuesday - Tutorial Tuesday: a recycled wool tutorial
Thursday - Off Topic Thursay: discuss something that is not recycled wool
Friday - Feature Friday: feature a shop that sells recycled wool products

What do you think?

Wednesday, March 17, 2010

My diaper covers in action!


Looking at my diaper covers laying flat doesn't do them justice, so a friend of mine let me use her baby as a model! Since he was on the go, we were only able to try on a couple of pair. Many blurry deleted pictures later, we have pictures!


Even though this this one was too big for him, it still looks much more adorable on a bottom than just laying there!


I will have a wide variety of soakers and shorties like these at the fiber shows this summer, so if you're in the area when the shows are on, stop on by!

Tuesday, March 16, 2010

Tutorial Tuesday - Super easy sachets!


These are ridiculously simple, but make a great gift, and use up scraps! This is a great project for beginning sewers, and a fast project, even for those that hand sew. You can customize these any way you want with shape, embellishment, or scent.

First, cut 2 pieces of your shape. I like to use pinking shears for a nicer looking edge, but it is not crucial if you do not have any. Since a friend asked what they were, they are the scissors that cut a zig-zag edge.


Next, start sewing them together, stopping when you are on the last edge. Drop 2 drops of essential oils (I used lavender. Mmm... lavender) on a few pieces of scraps and stuff them in, then finish your sewing. You're done. Wasn't that easy?

Monday, March 15, 2010

It's a bird! It's a plane! ....


... It's Super Jack!!

If you have a 4 year old boy, or ever been around one, you know that they are all about adventure and super heroes! Though my son had never seen an episode of anything with a super hero, he learned it through osmosis. You moms of 2 year old boys that love Elmo and Barney, that are shaking your heads, saying "not my sweet boy"? Yes, it will happen to you too. Those sweet Elmo loving darlings will one day be turning anything stick shaped into a "light saber", and leaping off your couches yelling super hero phrases. I have accepted it, and even think it's really cute now that i've adjusted, so this morning I made Jack a cape. It was incredibly simple... just a rectangle of fabric, and recycled wool (of course!) appliques. The sloppy looking button and loop of elastic is temporary, because I don't have velcro in the house at the moment, but my little super hero doesn't mind :)