I have always been a big fan of
Babylegs. I wish I would have known about them when my son was crawling, but I discovered them when my son was 20 months or so and potty training. He wanted to use the potty, but was frustrated because he didn't have the coordination to get his pants down in time. It was winter, and I couldn't leave his legs bare, so Babylegs were the perfect solution! Above is a typical morning outfit at that time (we didn't leave the house like that, lol!)... beanie hat (he refused to take them off & even slept in them!), pj top, underwear, babylegs, and socks. On cold winter days the babylegs served as an extra layer, and protected his little legs when his pants hiked up. I even wore his black & yellow striped ones as arm warmers one year when I was a bee for Halloween. The possibilities are endless!


Now I just stock up on them when they are a good price & give them as baby gifts to friends & family. They had a fantastic sale for Earth Day on
2 different styles, Tulip & Vine, so I bought a bunch. They sent me 5 extra pairs by accident! I emailed them right away to let them know, and to ask them what they wanted me to do with them, and they said to keep them! If you know me, then you know I love good karma, so this calls for a giveaway! I will be giving away 2 pairs of the Babylegs, one pair to 2 different people, and you can choose from the 2 designs (Tulip & Vine)! Since I have to pay shipping out of my pocket on all these giveaways, I am limiting this giveaway to US & Canada only.
Ready for the details?
Mandatory Entry:
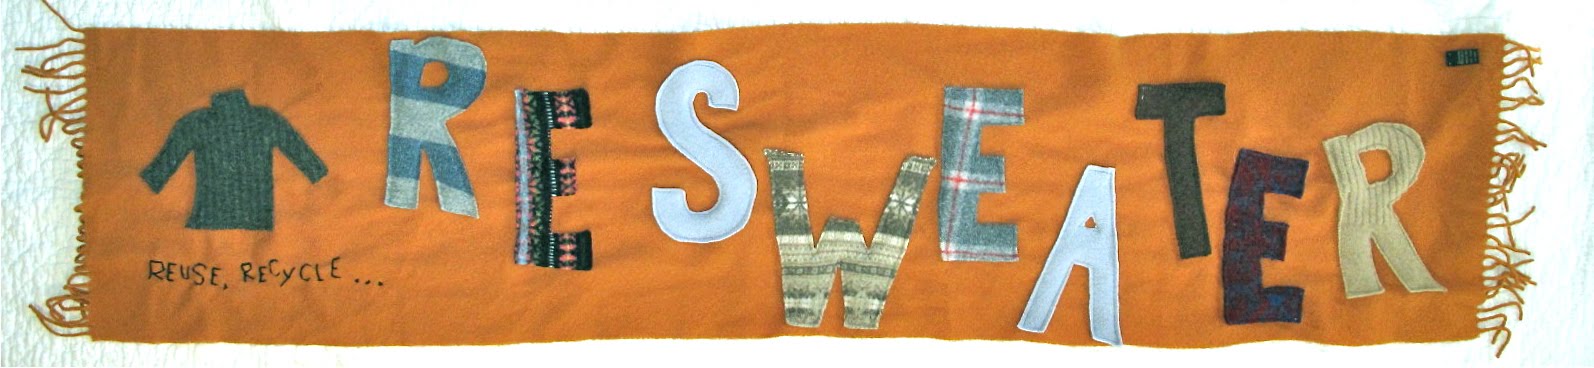
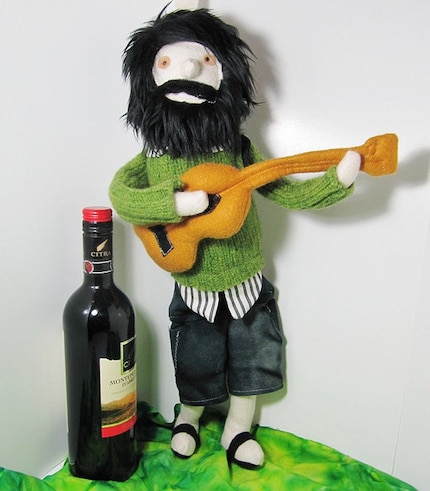
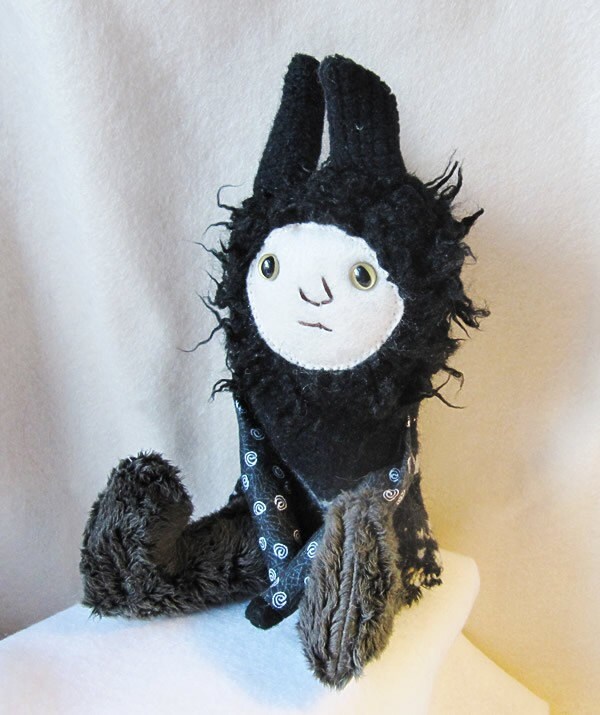
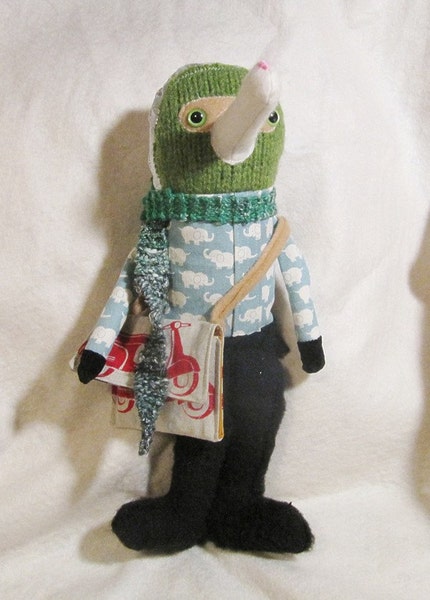
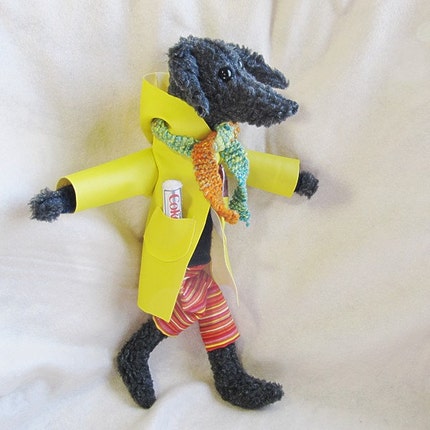
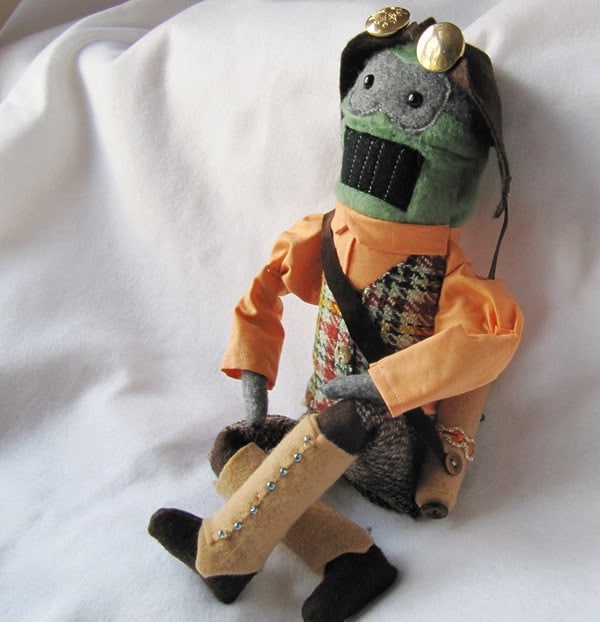
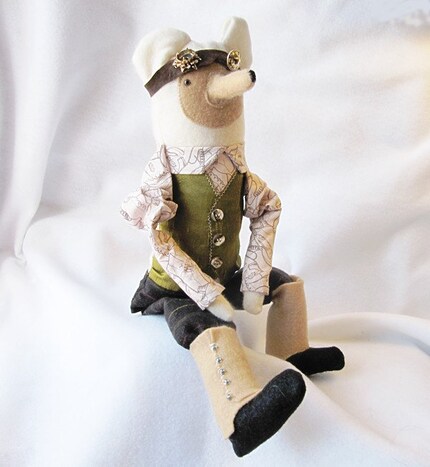
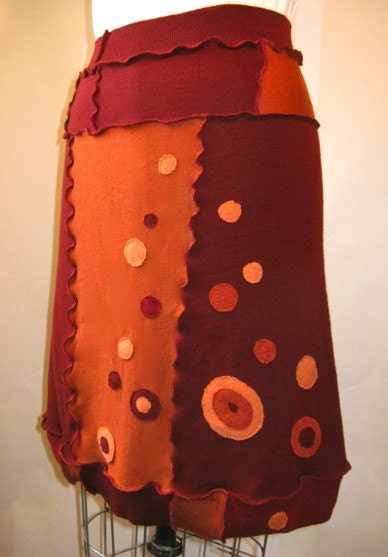
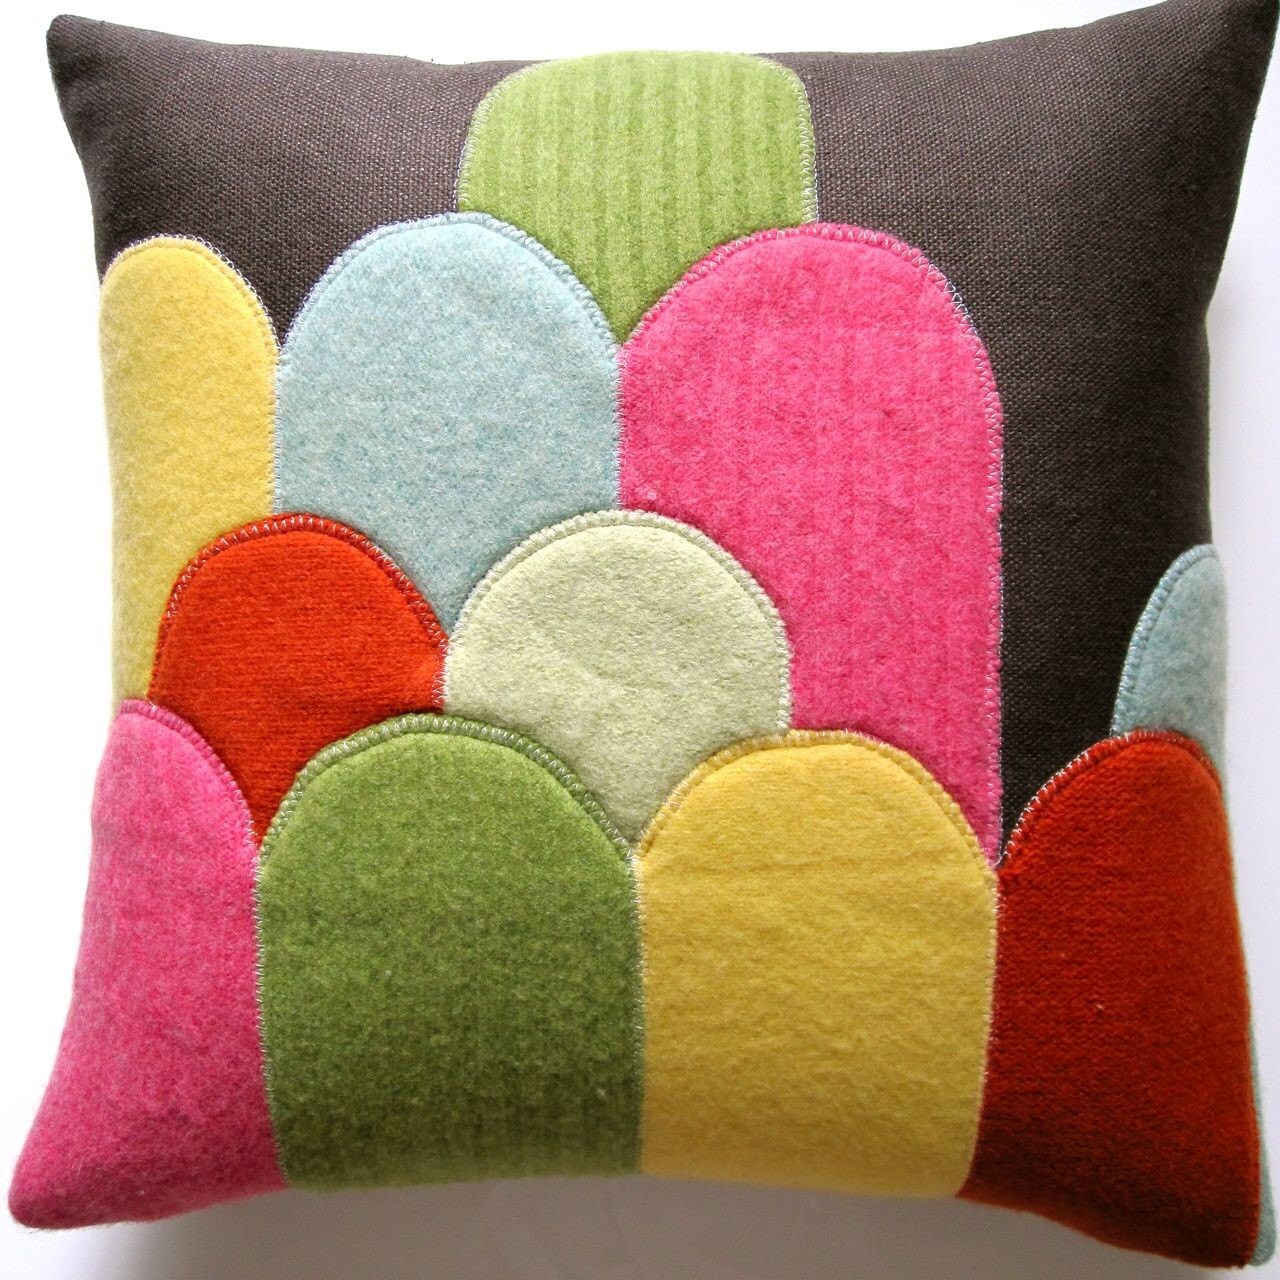
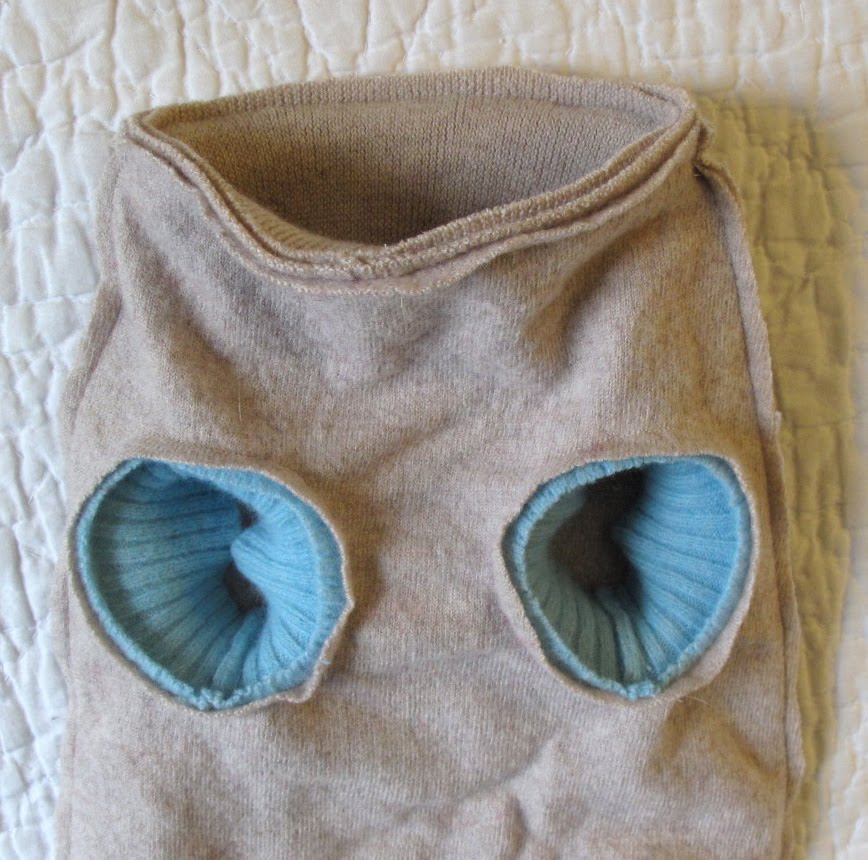
* Go to
my shop and let me know which sweater is your favorite.
Want extra entries?* Follow my blog, and if you already do just say that.
* Do something kind... Slip a sweet note in your husband's lunchbox, play that game you've played a hundred times with your kid that you hate to play (but your kid loves), a random act of kindness to a stranger, bring some baked goods to a neighbor (that's what got someone the winning entry in one of my past good karma giveaways!) , and let us know what you did! It will make you feel good about yourself, make the recipient of the good fortune happy, and it will get you another entry!
No fair posting something you already did, or were planning to do anyway!... it's makes it more fun this way!
* Blog about this giveaway & link to it.
Make sure to leave a separate comment for the entries you complete!
Deadline: Tuesday, May 4th at midnight, Central time zone. I will use random.org to pick the winners and post it the following morning (May 5th). **please leave an email if your blogger profile does not include it. I need a way to contact you.** Once a winner is drawn I will contact them and the winner will have 48 hours to reply back before I draw a new winner.