Showing posts with label Tutorial Tuesday. Show all posts

Tuesday, October 29, 2013

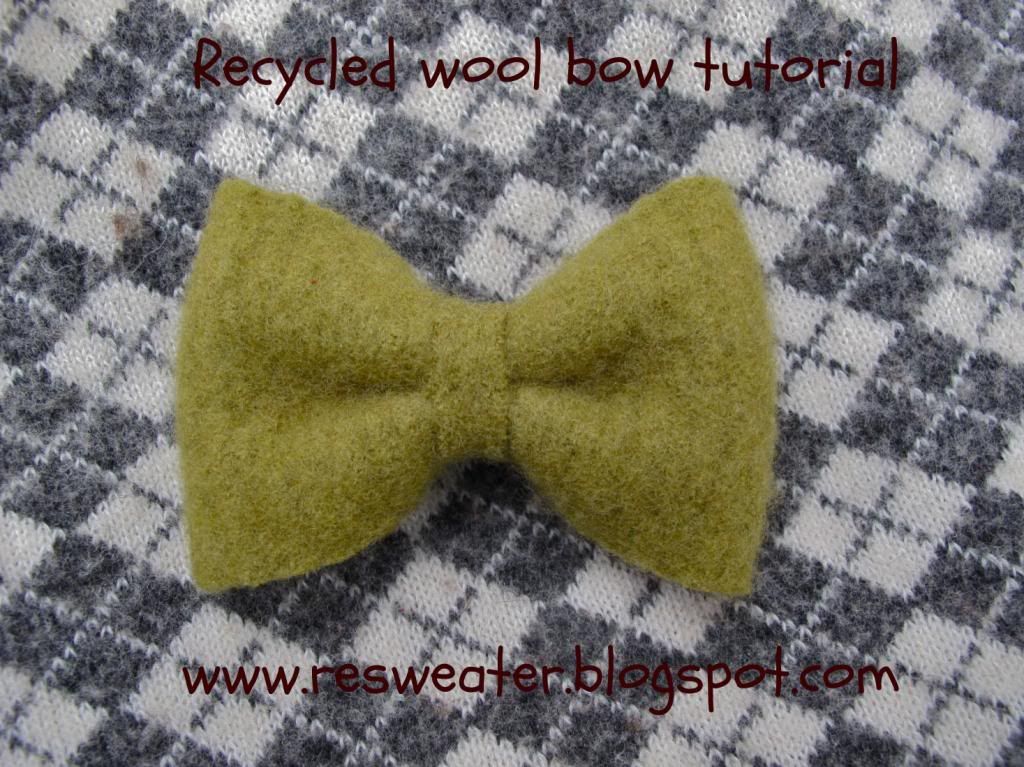
It's Tutorial Tuesday! Make a recycled wool bow in under 5 minutes!


 photo d2f73c70-adbb-4019-80d0-2b5e62daabe0_zps83846f84.jpg


This is such a versatile and easy project. These take me under 5 minutes to make, but look so nice! Ready to learn how to make these yourself? First you cut your pieces of felted wool. You can tweak this to get different sizes, but for this tutorial I used 7" x 2 1/2" for the main piece, and 1 1/2" x 1/2" for the small piece.


Once you have your pieces cut, take the main piece and fold it in half. Sew the 2 ends together. It doesn't matter what the stitching looks like, because you won't be able to see it when your bow is complete.


Leave the needle/thread attached, and move the sewn seam to the center.


 Now fold the width of the bow in half, so the seam is facing you, and the ends are facing away.


 Now, while keeping the center pinched, fold the sides back toward the seam. The middle should resemble a W.


Now, while keeping that "W" pinched in the middle, wrap the small strip tightly around the center and sew into place.


 Now flip it over and voila! You have a bow!


 From here there are endless things you can do with your bow. Sew a hair rubberband to the back for a hair bow...


 Sew a loop of elastic to the back and slide it onto your dog's collar. I apologize for the bad pictures... Spots was not being a cooperative model ;) ...


 and of course you can use this as a classy bow tie too! Just sew a small strip of wool, or fabric, to the back, to go around the neck, with a little velcro at each end. My child model declined this photo op, so this picture will have to do, but it's much cuter on an actual boy ;)...


You can use these bows to embelish purses, presents, barrettes... you name it! Watch out though. Once you start making them, you cant stop!

 I never mind anyone blogging, tweeting, Facebooking, Pinning, etc. any of my tutorials, but please always link back to my blog, instead of cutting/pasting the tutorial to somewhere else. Thanks, and enjoy! :)

Tuesday, June 5, 2012

It's Tutorial Tuesday! Make a recycled wool bike seat cover!


I went for a bike ride the other day, and though the rest of me felt great, my bum was too warm! I of course thought of breathable, moisture wicking wool, and got to work!


First, take a piece of paper & make a template for the seat top, making sure to add on about 1/4" all around for seam allowance.


Now, using that template, cut out a piece of felted wool. You will also need a strip of wool long enough to go all the way around your seat piece. You probably won't have a long enough piece to do that, so just sew 2 pieces together, like I did, then join the ends, so it makes a complete circle. You will want this to be about 1" deeper than the bike seat's side.


Now you will want to sew the circular piece to the seat piece, wrong sides out.


It should look something like this when you are done doing that...


Now you will need some elastic. Please note: I like to use what I have on hand, so I used a thick piece of elastic, but a thinner piece of elastic would have worked much better than what I used. Stretch the elastic while you zig zag stitch it to the [not stretched] wool edge. You will be sewing it to the outside edge (the "wrong" side of the wool).


When you are done going all the way around, you can flip it right side out, and it should look like this...


Now it's time to put you cover on your bike seat! If you used the right elastic & stretched it enough while sewing, you should be done. If your cover ended up not tight enough, like below (because I used too thick elastic), there is an easy solution.


Take the cover back off, flip it inside out and sew closed the skinny part, like this...


When you flip it right side out again, it should resemble a goofy looking slipper.


Now when you slip it back on the bike seat, it should look perfect!


I tested it out with a long bike ride, and it works great! No more plastic seat sweat (yuck!)! It also looks cute with my water bottle cozie :).

Tuesday, May 29, 2012

It's Tutorial Tuesday! Make an insulated water bottle cozy!


Did you know that wool is naturally insulated & moisture wicking? That's what makes recycled wool an excellent choice for water bottle cozies! Your water will stay cold, but your hands will stay warm. The texture of the wool helps you keep a better grip on your water bottle, and the condensation will be wicked away, so you won't be left with a soggy cozy. We've been using recycled wool cozies on out steel water bottles for a long time now, and can't live without them! Ready for the super easy tutorial?

Take a felted (not too felted, so there is a bit of stretch left to it) wool sweater sleeve, and place it on your bottle, to determine how long you want it to be. Mark it, take it off the bottom, and cut straight across. Don't follow the pattern of the sweater when you cut (if you are using a patterned sweater), because the patterns can run at a slight angle. Then cut a circle that is the same circumference as the bottom of your cut sweater sleeve bottom.


Now turn your sleeve part inside out, and place the circle on the cut end, wrong side out.


Now sew the circle to the sleeve.


It should look something like this when you are done...


Now flip it right side out, and you are done!


Now we are ready for summer!

P.s. These are washable too! I've washed my son's cozies a dozen times. Just wash on cold, so they don't felt further. I just threw them in cold cycles in the washer, but if you want to be extra careful, just hand wash cold and lay flat to dry.

Tuesday, May 1, 2012

It's Tutorial Tuesday! Make a no-sew recycled wool tea bag organizer!


I have recently been diagnosed with gerd (reflux), so my diet has gone through some major changes. One of the biggest was switching from coffee to tea. Since I have not been a tea drinker in the past, I have been trying lots & lots of different teas to see what I like best, but now I have tea everywhere! I Googled around looking for a diy tea organizer, but didn't really find any, so I created my own! This is so quick & easy, and there is no sewing required! Ready for the tutorial?

Remember when you felted a sweater so stiffly that you couldn't use it for anything? Go get that sweater! You will need some heavily felted (the stiffer, the better!) wool, and a container. I used a small organic lettuce container. It seemed like the perfect size, I like that it was clear, and I liked that I was reusing something. Now, cut a piece of the wool to the length & height of your container. If the bottom corners of your container are rounded, make the bottom corners of your wool pieces rounded.


Now cut a slit halfway through the height, in thirds. Just measure your length, divide by three, and cut. For example, if your piece is 6", you will want to make a slit every 2".


Now cut 2 pieces to the width & height of your container, then cut your slit halfway, in the center of each.


Now you just slide these 2 pieces over the longer piece, marrying the slits together (slits will be facing up on the longer piece, and down on the smaller pieces. Place this inside the container.


You are done! It will look a little wonky like that until you put the tea bags in, when it will look like this...


You don't need to, but if you don't like it looking wonky while empty, you can simply reinforce it with a few hand stitches, and it will look like this...


The clear container allows you to see what is in there from every angle.


The beauty of using recycled wool, instead of something hard, for the dividers, is that they can form to space you need for each section... a little more than full, or a little less than full. I really love this, and I will make another, so I have one for the caffeinated, and one for the herbal decafs.

I hope you find this as useful as I do! As an added bonus, wool is moisture wicking, and will help keep your tea fresh!


And now, a shameless plug for a referral code :) ! I buy most of my tea, along with natural hair products, and health foods from Vitacost. They seem to always have the lowest price on what i'm looking for, they often have free shipping deals (shipping on orders over $50 is always free), and with referral credits, are cheapest by far! If you order through my referral code, both you & I each get a $10 credit with no minimum to purchase! For your $10 credit, simply click here!

Tuesday, April 10, 2012

It's Tutorial Tuesday! Super easy no sew portable dog bed


This one has nothing to do with wool, but I thought i'd share anyway. All you need is an old throw pillow & vintage suitcase, that are size appropriate for your dog or cat.

Step 1: Place pillow in suitcase.


Step 2: Place thick bungee cord around hinges, with the hook parts in the back. This will keep the lid from falling down on your pet. I made a fabric cover to go over it, but it really didn't look that bad before I did, so that is totally optional.


Step 3: insert pet. This one will happen automatically. They will most likely be waiting to jump in.


You are done! Now, you can embellish all you want from here, but you have a cute recycled pet bed right now. I like that it is still a functional little suitcase, because I plan to pack all her doggie things (dog food, dishes, toys, leashes, extra bags) in it when we go on trips, and this will traveling with her so much more convenient!
I pinned a tiny quilt to the lid, that I had found at a sale somewhere. Not only do the dogs on it look like Spots, but it even says "spot" on it, so I thought it was perfect. Since I would like the option of being able to clean it, it is just loosely pinned to the lid.


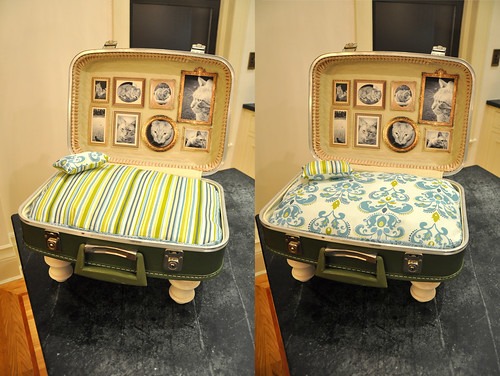
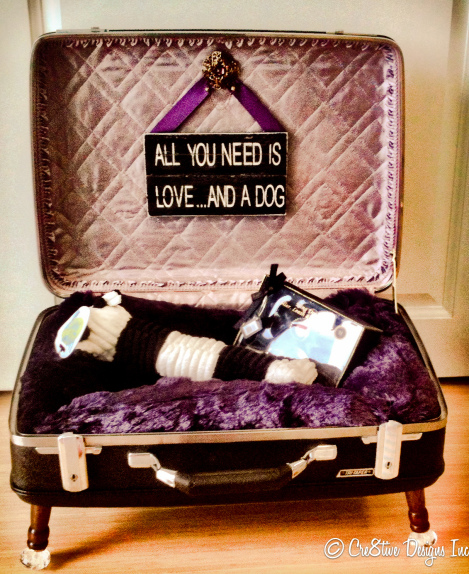
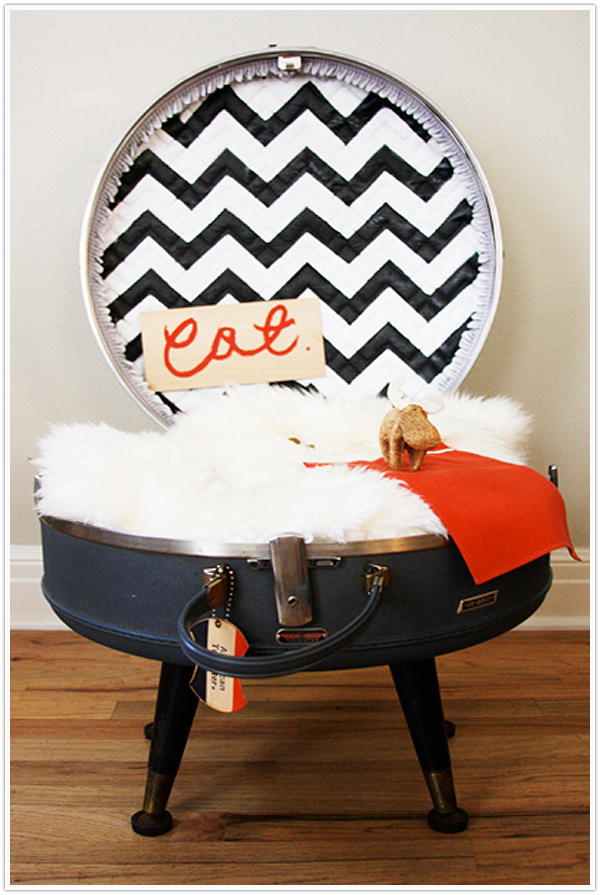
Now, if you are really industrious, you can embellish further by adding legs, custom upholstery, and decorations, like some have done. Here are some impressive & adorable ones I found online. Just click on each picture to go to the website it originally came from.