Showing posts with label pet bed. Show all posts

Tuesday, April 10, 2012

It's Tutorial Tuesday! Super easy no sew portable dog bed


This one has nothing to do with wool, but I thought i'd share anyway. All you need is an old throw pillow & vintage suitcase, that are size appropriate for your dog or cat.

Step 1: Place pillow in suitcase.


Step 2: Place thick bungee cord around hinges, with the hook parts in the back. This will keep the lid from falling down on your pet. I made a fabric cover to go over it, but it really didn't look that bad before I did, so that is totally optional.


Step 3: insert pet. This one will happen automatically. They will most likely be waiting to jump in.


You are done! Now, you can embellish all you want from here, but you have a cute recycled pet bed right now. I like that it is still a functional little suitcase, because I plan to pack all her doggie things (dog food, dishes, toys, leashes, extra bags) in it when we go on trips, and this will traveling with her so much more convenient!
I pinned a tiny quilt to the lid, that I had found at a sale somewhere. Not only do the dogs on it look like Spots, but it even says "spot" on it, so I thought it was perfect. Since I would like the option of being able to clean it, it is just loosely pinned to the lid.


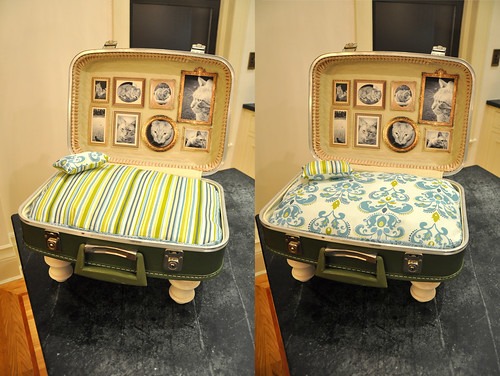
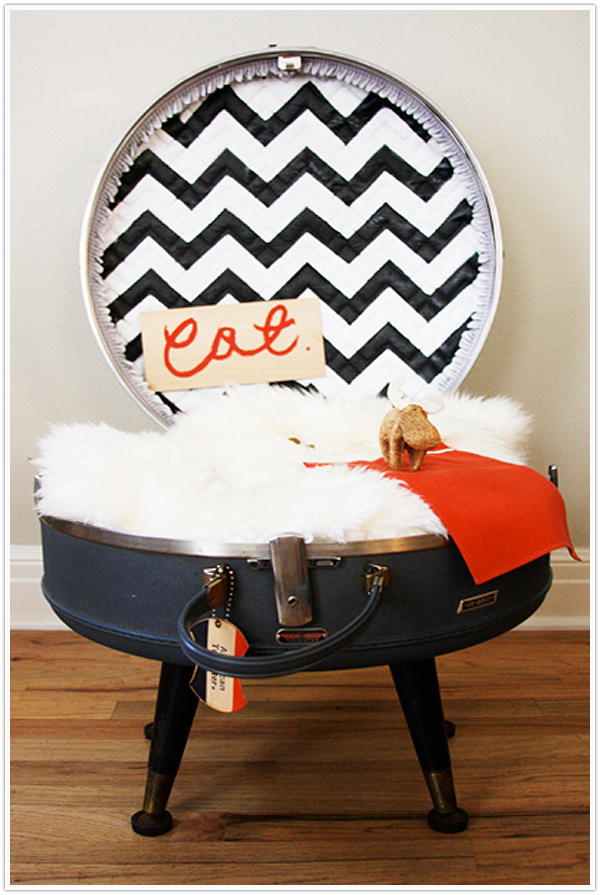
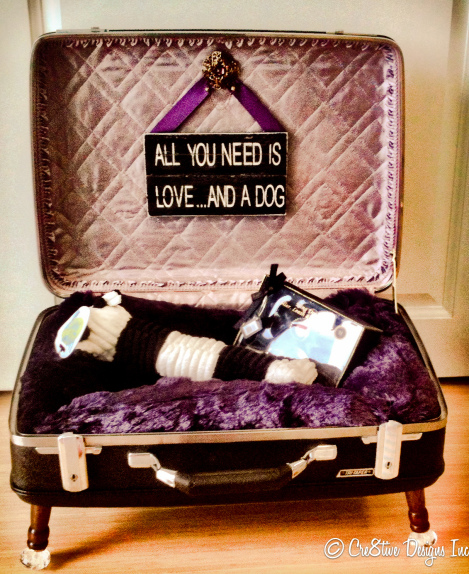
Now, if you are really industrious, you can embellish further by adding legs, custom upholstery, and decorations, like some have done. Here are some impressive & adorable ones I found online. Just click on each picture to go to the website it originally came from.




Monday, November 2, 2009

Cozy pet bed tutorial

I have recently joined a Yahoo group, Art Felt (you can too!). I haven't been there long, but everyone has been very friendly, and they have such a great gallery of their work. In fact, this tutorial was in there, and Raven was generous enough to share it with all of you! I copy/pasted directly.


"Starting with a wool sweater...
Actually you need two... one for the tube that forms the body of the bed and another to cut a circle from for the bottom

Parts sewn together
Slightly pre-full the sweaters, just enough to keep from raveling. Cut sweater one to create the longest tube possible. From sweater two, cut the largest circle you can work into the sweater back. Using wool yarn, securely stitch the tube edge to the circular bottom, easing or stretching to fit evenly. Complete fulling process until fabric is as thick, dense and firm as you can get it.

blocking
After fulling down completely into a sturdy fabric, bed is blocked on a steel soup pot. The sides are twice as long as the pot is tall so the tube is folded down once for blocking. The edge with the red trim is actually the top edge.

Bed with top fully extended
After dry, here's the bed with the top all the way open. Fully extended it would be great for a pet who loves to tunnel in a bag to snuggle.

Bed folded down one turn
For a high nest, body is turned down once at halfway point

double fold for rigid sides
Fold the top down to thirds for lower, more rigid sides.

Goblin enjoying the new nest

Leo taking a turn"