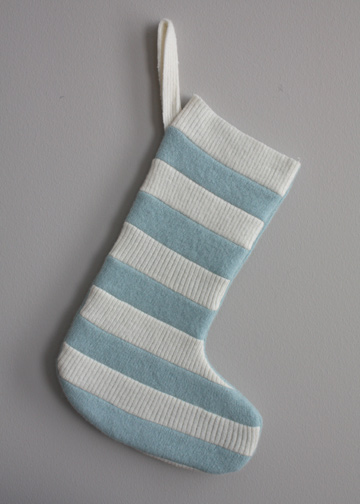
I have a confession. My family has been using store bought stockings until this year. Two from garage sales, and my son's stocking is from the dollar store. Isn't that horrible? This year I have decided to
finally make ours, and here's a tutorial to boot!
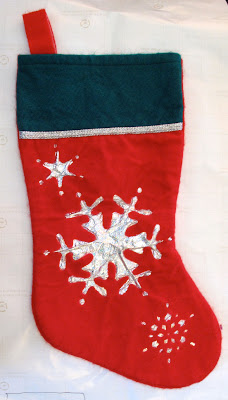
First you will need a stocking to trace, to make a pattern, or just wing it... trust me... I have no artistic ability, and I can do it! You can also use
Martha Stewart's stocking template, if you need a pattern. Now trace/draw & cut out 2 patterns.


Take the front pattern, and cut it into the pieces you would like.

Now use your pattern pieces to cut your felted wool pieces, remembering to leave a seam allowance (1/4"or 1/2" doesn't matter... whichever you prefer) at all the edges. Now sew your pieces together, remembering to keep right sides together.

Now take your uncut pattern, and cut out your piece for the back. You could also repeat the process of the pieced side, if you prefer the whole thing to be pieced.

Sew those 2 pieces together, right sides in, and don't sew the opening closed at the top!
Now for the top cuff, you can use a turtleneck, if you have one that's big enough & coordinates, or you can make the top from 2 rectangles sewn on each end. You will want the rectangles to be a little wider than the width of the top of the stocking, by about an inch.


Now to make a hanging loop for the stocking. Just take a strip of wool (mine was approximately 6" long, and 2 1/2" wide), and fold back a 1/2" on each side & sew it down. fold it over with the sewn edges touching. Now you have a loop.

Now, with your stocking still wrong sides out, place your cuff inside the stocking opening, so you can see the right side of the cuff when you look inside. Place the hanging loop upside down (cut edges up) at the back, by the side seam. Now sew these together, stretching lightly, and evenly, as you go. Since the cuff will be slightly bigger than the opening, you may need to stretch the stocking opening ends a little more than the cuff to even them out.

You don't have to, but to get a smoother stocking, you can now turn your stocking right sides out, pull the cuff up, and sew down that seam, so it's not so bulky. I used a zig-zag stitch, but a regular stitch will do the job too.

Now, if you haven't already, flip your stocking right side out & fold the cuff down. "Hey... that doesn't look right!" you are saying about now. Iron it! It is amazing what an iron can do ;). Now I have 3 great stockings for our family! Jack's is a little wonky looking, but that was because he wanted his bigger, and I tried to wing it without making a new pattern (I rushed through the ironing too). Silly me! I am not worried about it though... it will look perfect when it is stuffed with goodies! :)