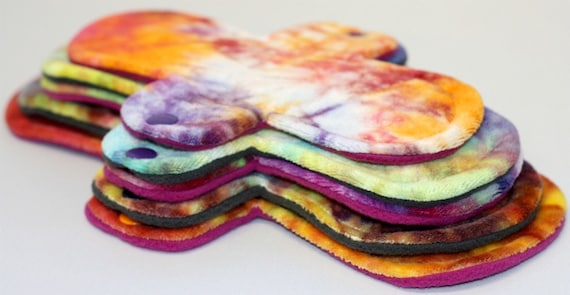
Many of my cloth diapering readers may have heard of reusable cloth menstrual pads, often referred to as "mama cloth", or "mama pads". Some of you are hearing about them for first time right now, and are saying "ewww!". That's ok, because that's exactly what I thought when I first heard of them ;). It has been about 4 years since I bought my first cloth pads, and have not used any disposable sanitary products since. They are much less expensive in the long run, even if you don't make them yourself, and they are way more comfortable than disposable products. They may even reduce cramping. I thought it was a bunch of nonsense the first time I read that they can reduce cramps, but I absolutely have had less cramping since I started using cloth pads. It could be a coincidence, but I am not willing to go back to disposables, just to find out!
Ok, enough of the introduction to cloth pads, and on to the tutorial! I decided to create a system, using a recycled wool base, rather than individual pads with backings. I figured it would be much easier to launder them, if the wool was separate from the pads, and the wool won't need to be laundered as often as the pads. Your first step is to cut out the wool back. Using a piece of very felted (you don't want it too stretchy) thin recycled wool (merino is probably best for this project), cut out this shape, making the length a comfortable length for you, for your pads (mine is 8" long):

You'll want to add a snap to the wings, like the picture above, then add 2 snaps in the center, like in the picture below.

This was my first time ever using snaps. I don't know why I was so intimidated by them until now. It is so easy! I have had bought the snaps and snap pliers, below, at a garage sale a long time ago, and couldn't tell how to use it by looking at it. I Googled around, and
this website had very clear & simple instructions.

Ok, now you are ready to make the snap on pads. You will want to make a template for your pads. You will want to make your template slightly longer than the length of your wool base, so after your seam allowance, they will be the same length as the wool base. I free hand drew my template, but you can use your favorite shaped disposable pad as a template, and there are some great templates on
this site, as well as more cloth pad tutorials there. For your material, you will want to use very absorbent materials, so no wool! I have tried all the different fabrics, like bamboo velour, raw silk, and minky, but always come back to cotton & cotton flannel. The choice is up to you, but I strongly recommend a non stretchy, woven fabric. You'll see why further into this tutorial. I used scrap fabric I had on hand for all that I made. This is a great project for using up scraps! Now that you have your template, but out your pieces, 2 for each pad.

You will now cut some scraps for the middle, for absorbency. You will want to leave room for the seam allowance on the sides of the absorbent middle. You will need to determine how many layers (how much absorbency) you will need for each pad, and sew half of the layers to each side. If you do not have enough layers for both sides, just sew them to the side that will be the underside of the pad. The snaps need more than one layer to go through to stay on firmly. I may or may not know this through experience ;). I like to sew a line through the center of the tops to create a "channel", as well. My absorbent layers are not uniform sizes, because I was just using up some scraps I had on hand.

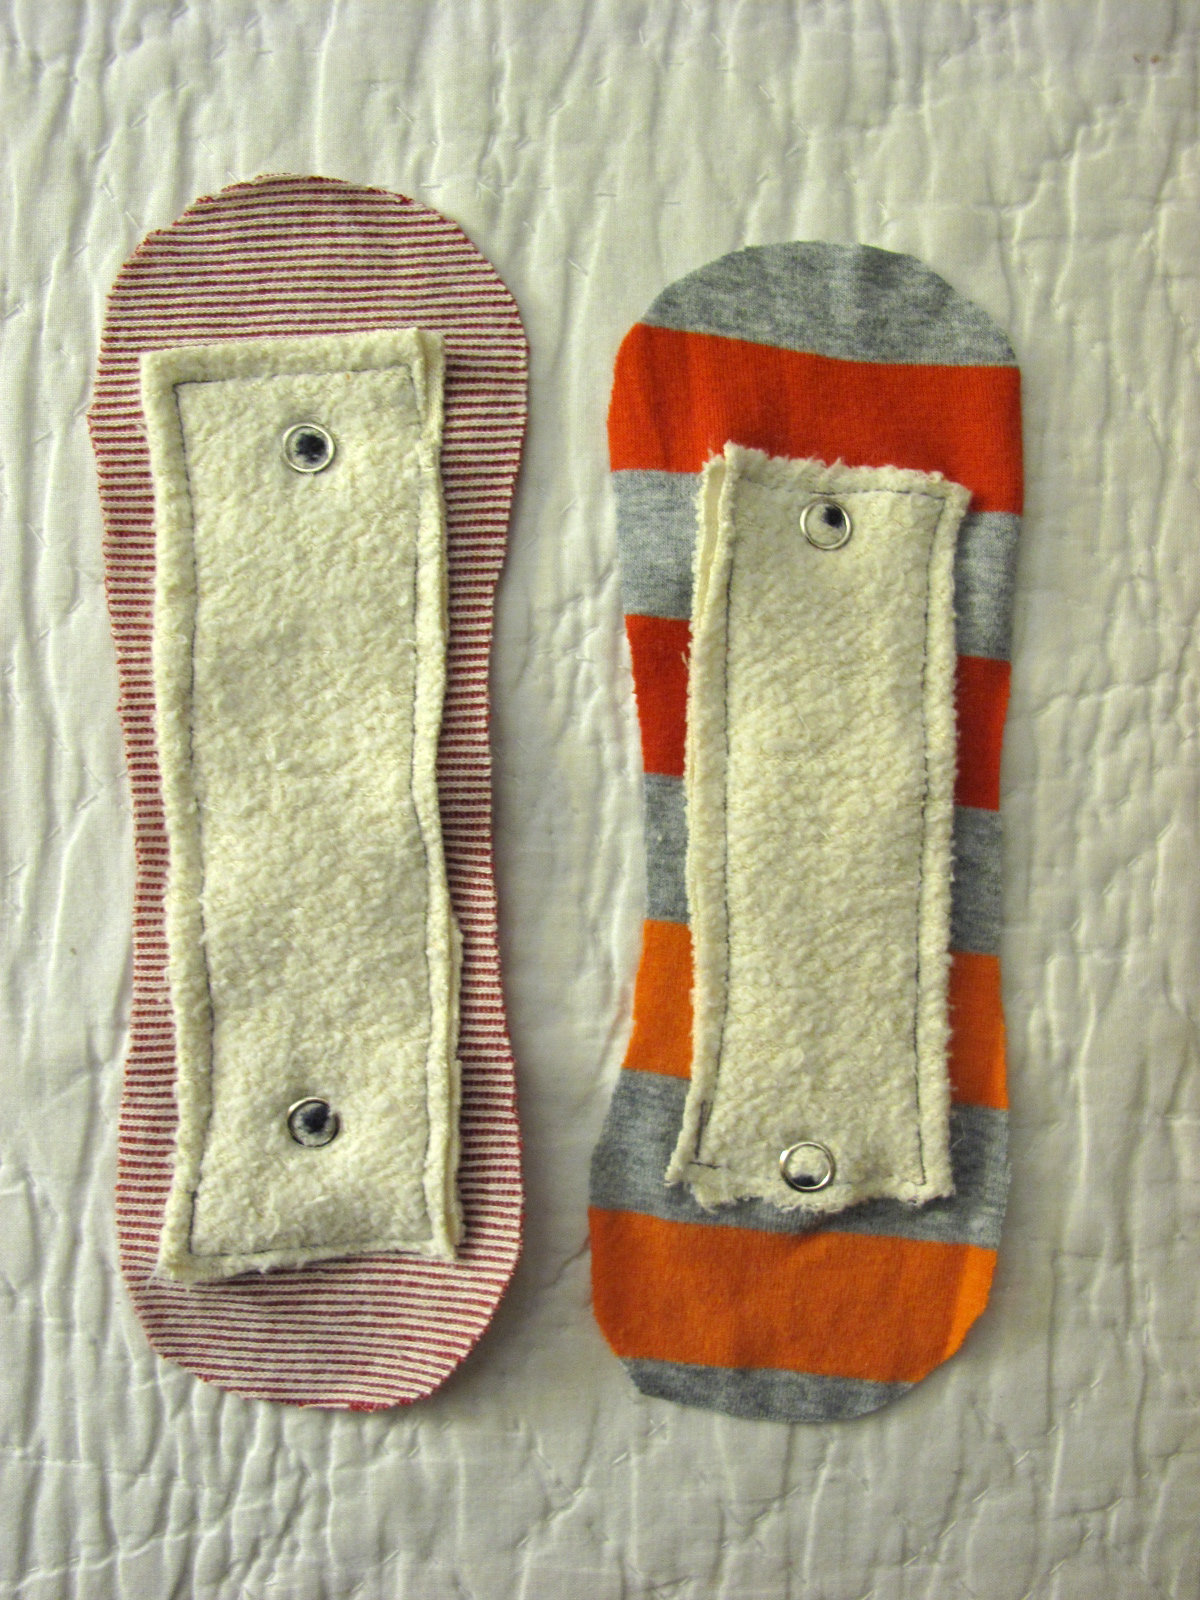
Now you are going to add the snaps to the bottom of your pad, making sure the connecting end of the snap is on the outside, either the male or female part... the opposite of whatever is on the wool base. To make sure the snaps were going to line up, I lined up the pad on the wool backing and pressed down where the snaps were on the wool, and it left little indents in the pad. I then used a marker to put a dot on the indents, to mark where the snaps would go.

Now you can sew your top & bottom together, right sides in, leaving about a 2" opening at one end.

now flip them right side out through your opening. Tuck the cut edges in, and sew it closed, then sew all the way around the edges.


Hmmm.... that doesn't look right. Maybe they just need a little ironing...

Nope. They still look weird and misshapen. This is why we don't use stretchy knits for this project. I don't know what I was thinking. Can you believe these came from the same template? Even though they are ugly, they are still usable, so it's ok. If you used a woven fabric, like I originally should have, they should end up looking like this:

Much better, eh?
Now you can make several pads, and snap on a fresh one whenever it's needed.

I recommend making 2 wool backings, and alternate them, so one can air out while the other is in use. Why a wool backing with cloth menstrual pads, instead of using disposable pads? ...
- Wool is moisture resistant, while remaining breathable. The plastic layer in disposable pads is definitely not breathable! If you add lanolin to the wool it will be nearly waterproof.
- Wool has antibacterial properties, and naturally kills bacteria that causes odors. Disposables can add perfumes in an attempt to mask odors, but wool really helps to remove them!
- Wool can be used again and again, before even needing to be washed. Even if your wool backing & pads doesn't last a lifetime, wool & cotton are ultimately biodegradable. Disposables need to be thrown away after each use. This gets expensive, and is not good for the environment.
- Wool is convenient. If you use reusable pads, you will not run out of them, and never have to make trip to the store. They are always there, once you make them.
What you use, or don't use, is entirely up to you, and is a personal choice, but now you have another option.
In the beginning, I bought a bunch of different pads, from different makers, in different sizes, shapes, materials, and thicknesses. I discovered I liked
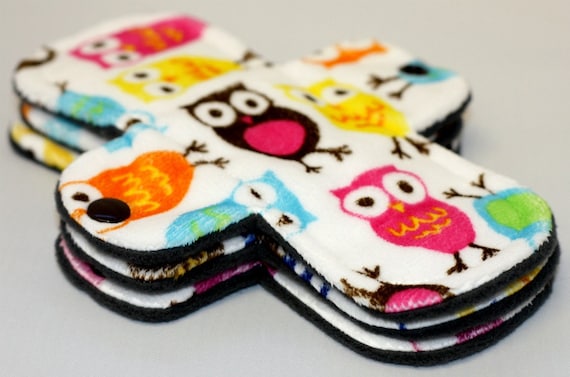
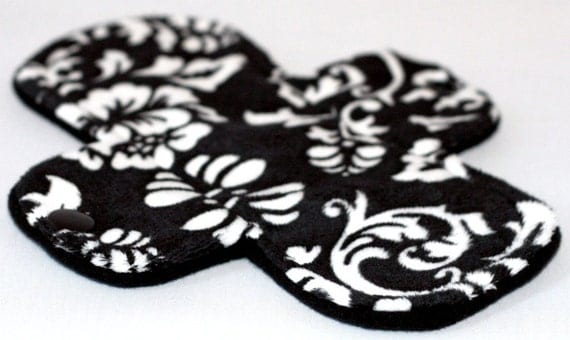
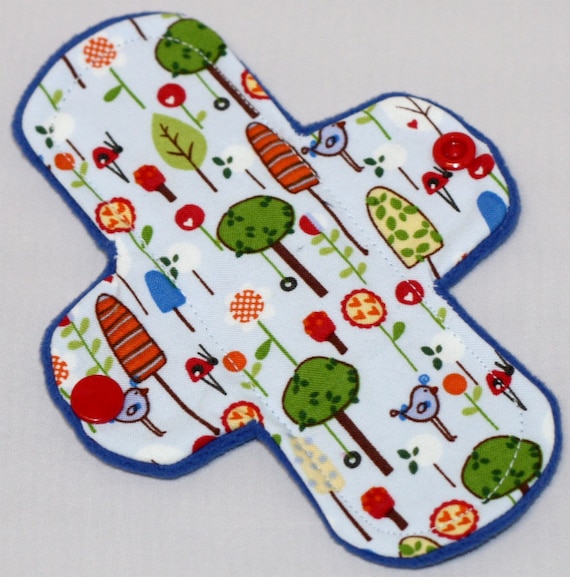
Pink Lemonade's pads the best, so if this tutorial is a bit beyond your sewing abilities (I wouldn't have even attempted this myself a year ago), but you want to try cloth pads, I highly recommend Sue's pads. Pictures of pads from her Etsy shop: