Tuesday, May 25, 2010
Takin' a break
I apologize, but I will be taking a break from blogging for the next week or so. I have a lot to get done around my house, and my allergies have been sucking the life out of me. My shop is open, and I might even list more sweaters this week, but I will not be blogging. See ya in about a week!
Saturday, May 22, 2010
Feature Friday (on Saturday) - Jilly Lovett

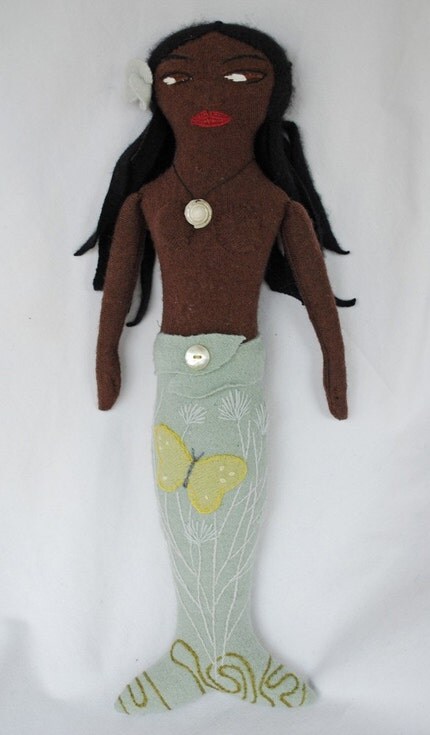
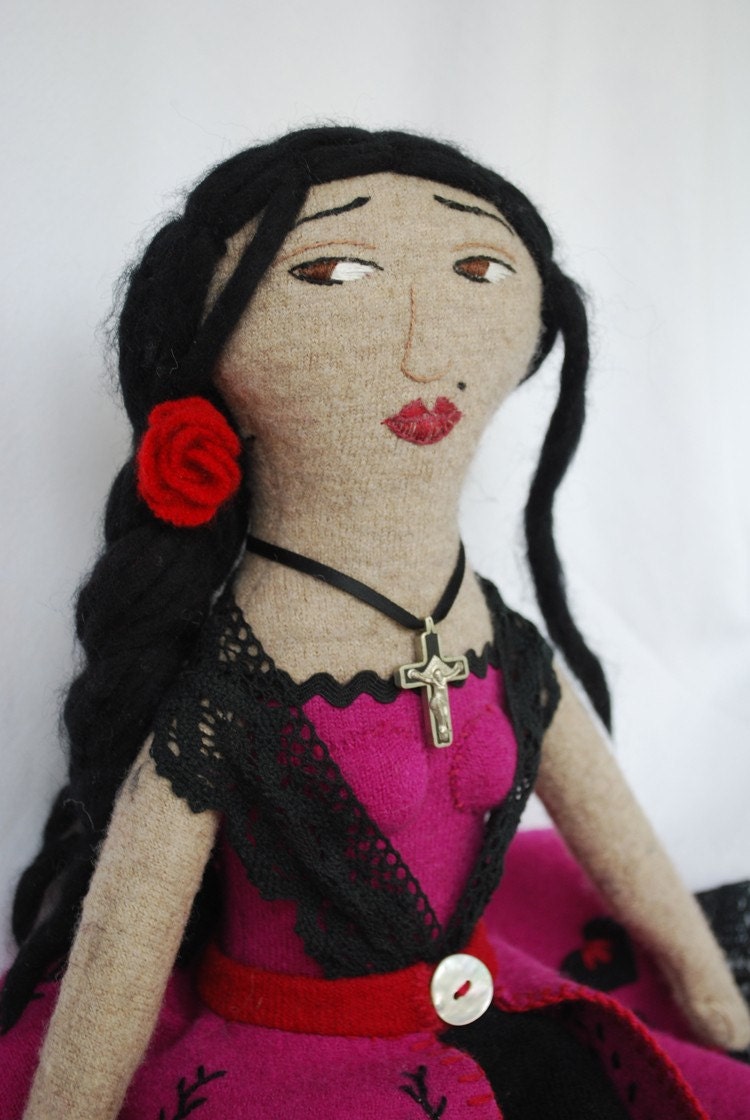
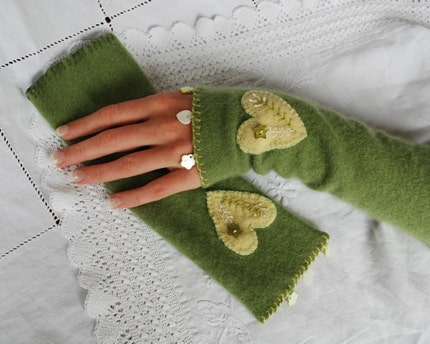
I have been wanting to feature Jilly for a long time! She mostly sells at fairs, so she didn't have a shop set up, but now she does! She makes lovely recycled cashmere wristlets, beautiful berets, and gorgeous dolls. Want more? Head on over to Jilly's Etsy shop!


Thursday, May 20, 2010
Off Topic Thursday - thinking outside the box
I have learned that being frugal & green sometimes means thinking outside the box at resale locations. I often substitute things for things that I need. I go to oodles of garage sales & thrift stores for my sweatering, so to keep my house from getting cluttered, I have to have a specific purpose for each thing I buy. That is my rule for myself, so if I really want to buy something, I have to get my creative thinking cap on!
This cute laundry basket was a great 25 cent find at a garage sale, and came along right when I needed more truck storage.

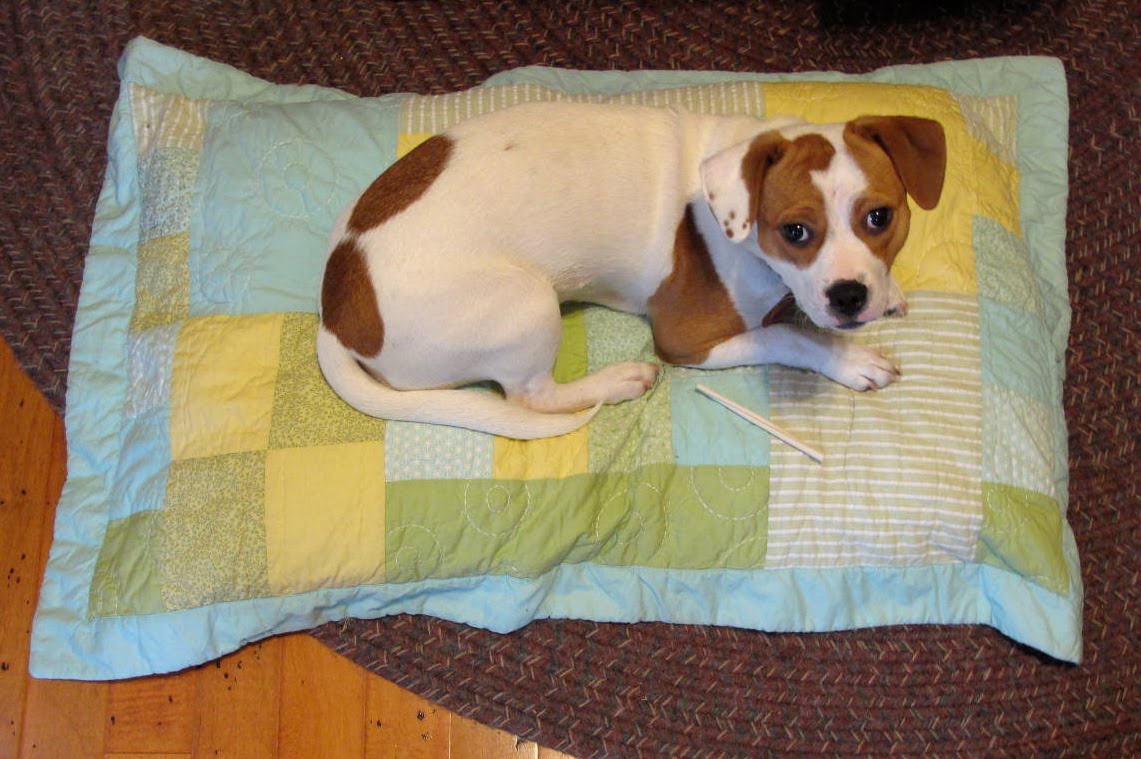
When we adopted our dog Spots, we needed a dog dish and a dog bed. A 25 cent garage sale Corningware dish became her dish...

... and a 30 cent thrift store king size pillow sham (with a couple of cheap garage sale throw pillows inside) became a bed for her. I might even sew an old baby bumper along the edge to make it cozier. I think she'd really like that.

When my son had a play kitchen, I found this vintage teak wood fruit in a bowl at a garage sale. He loved to play with them, and they looked so much nicer than the plastic stuff! Also just taping an empty box (mac & cheese, cereal, crackers) closed is instant "play food". If they get bored, just take new boxes out of the recycling and put the old ones back in!

Did you know that if you unscrew a Swiffer, and remove the middle piece, it will be the perfect size for a toddler? They are under a dollar at every other garage sale. Jack LOVED to swiffer as a toddler (and still does!) and was very proud to have his own. I just used a cleaning rag instead of the disposable refills.

This cute laundry basket was a great 25 cent find at a garage sale, and came along right when I needed more truck storage.

When we adopted our dog Spots, we needed a dog dish and a dog bed. A 25 cent garage sale Corningware dish became her dish...
... and a 30 cent thrift store king size pillow sham (with a couple of cheap garage sale throw pillows inside) became a bed for her. I might even sew an old baby bumper along the edge to make it cozier. I think she'd really like that.
When my son had a play kitchen, I found this vintage teak wood fruit in a bowl at a garage sale. He loved to play with them, and they looked so much nicer than the plastic stuff! Also just taping an empty box (mac & cheese, cereal, crackers) closed is instant "play food". If they get bored, just take new boxes out of the recycling and put the old ones back in!

Did you know that if you unscrew a Swiffer, and remove the middle piece, it will be the perfect size for a toddler? They are under a dollar at every other garage sale. Jack LOVED to swiffer as a toddler (and still does!) and was very proud to have his own. I just used a cleaning rag instead of the disposable refills.
Tuesday, May 18, 2010
Tutorial Tuesday - Easy basket liners!

These were so fun, fast, & easy to make! In addition to just beautifying & protecting your basket, wool is insulated, so these would make fabulous bread baskets!
To make your patterns trace the bottom of your basket (make it a 1/2" smaller on either side if you won't have a seam, serging) for your bottom piece. For the sides, measure the side of your basket's width, and add how ever many inches you want it overlapping at the top. Cut your pieces. You will need one bottom and 4 sides. For a more finished look, you can use the hem of the sweater as the edge of the liner.

Now sew your 4 sides together, right sides in.

Sew the bottom to your sides, and you are done! Just slide it into your basket & fold down the edge. Wasn't that easy?


I forgot to tamp it down with my finger in the corners before taking the picture, but it looks much better that this.

FYI, the plaid sweater I used for the liner in the first picture is 65% merino wool/ 35% acrylic, and felted beautifully!
Monday, May 17, 2010
The winner of the ragamuffin giveaway is....

... #3, picked by random.org:
"Cindy in Carolina said...I would give Buddy a good home here on the farm and he could visit with my grand daughter when she visits 2 or 3 times a week.
Cindy in Carolina"
Congratulations Cindy! A quiet life on the farm and a child to love him... what more could Buddy ask for?
Friday, May 14, 2010
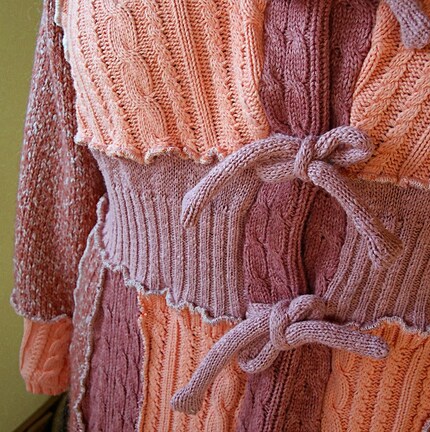
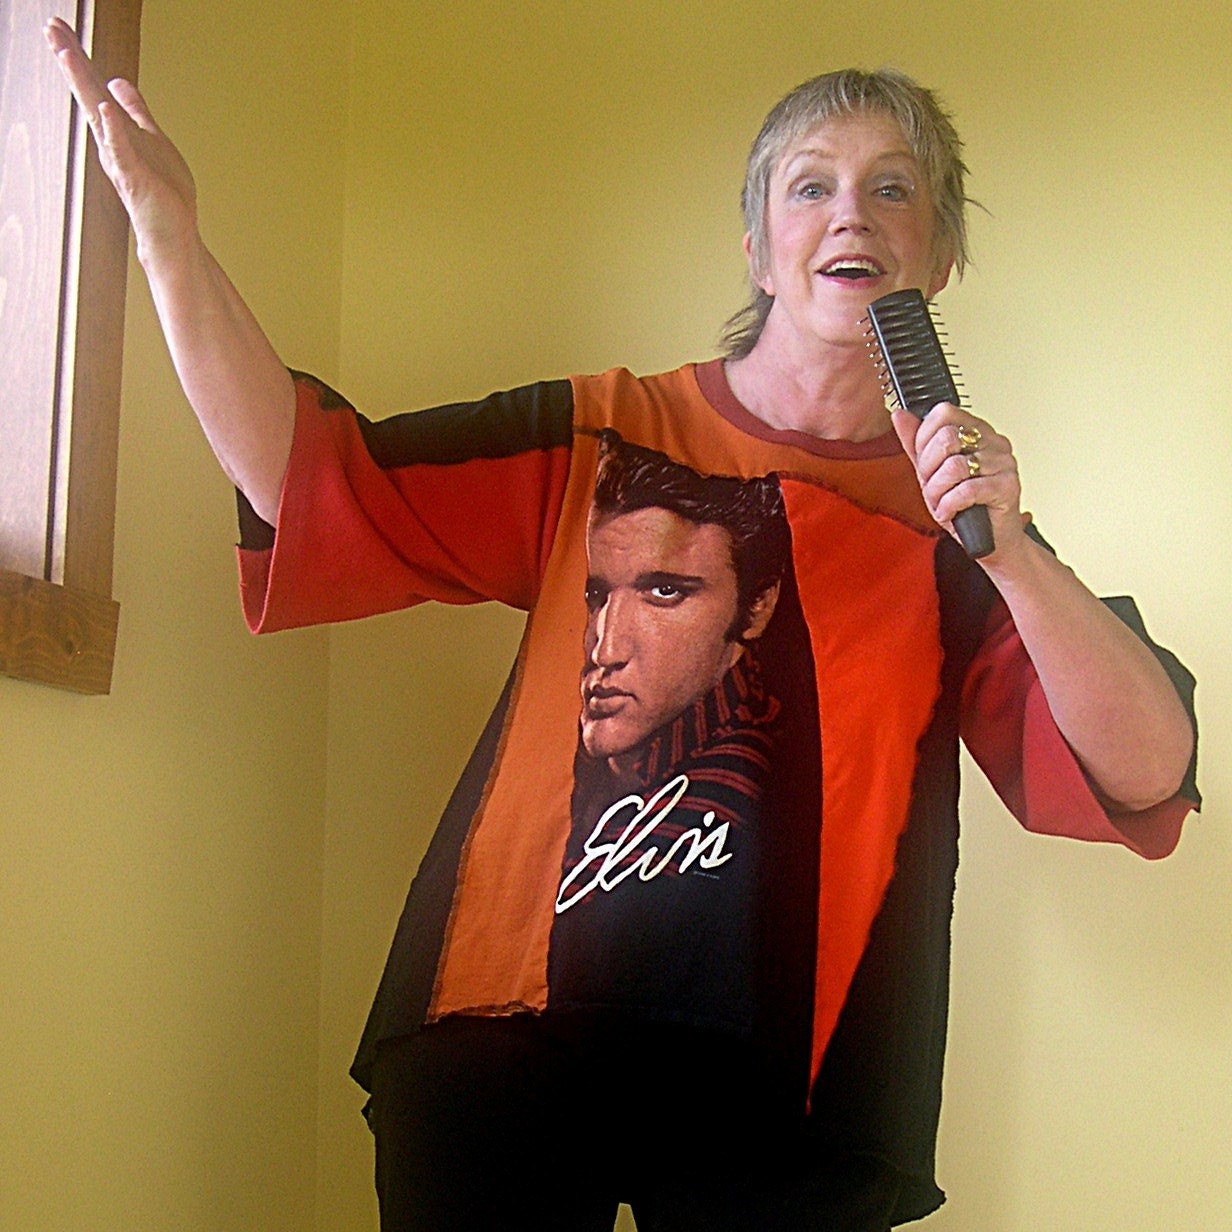
Feature Friday - Jill2day
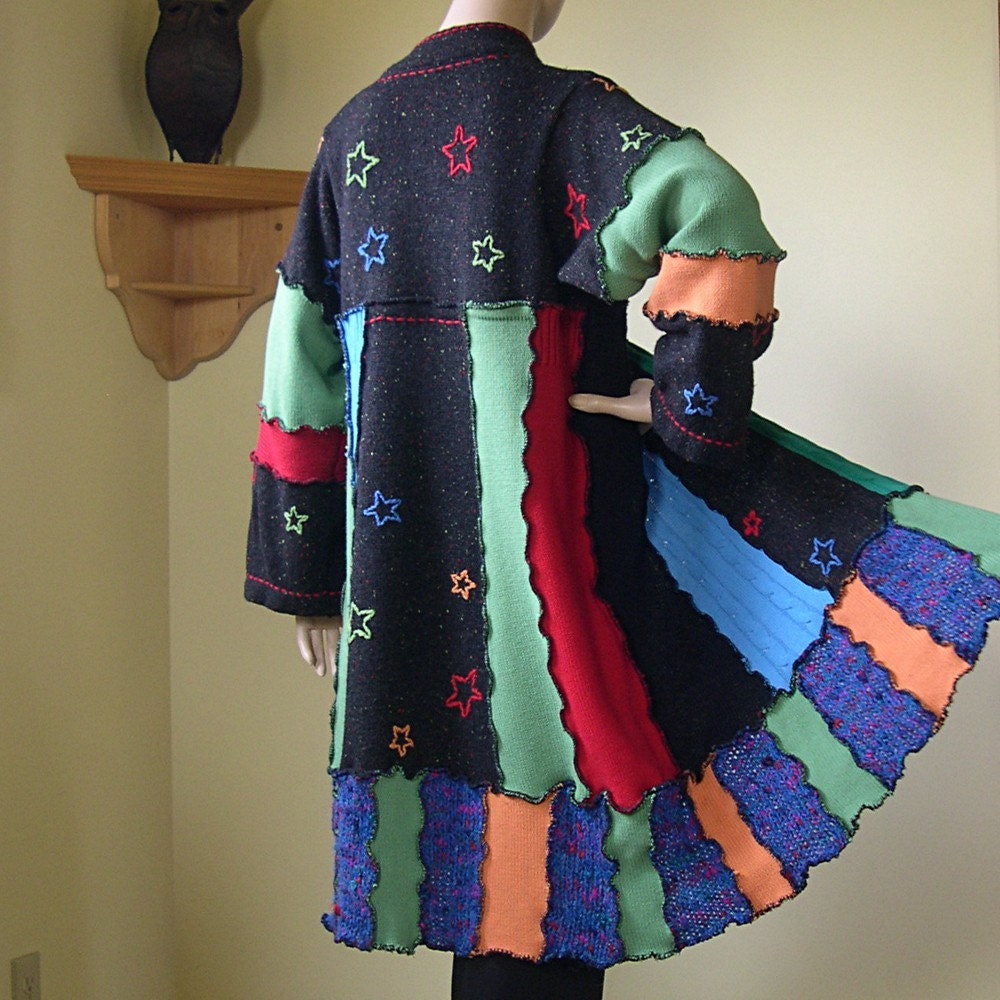
Are you looking for something totally unique to wear? Head on over to Jill's Etsy shop, Jill2day, for some fabulous recycled fashions. Not only does she make her gorgeous garments from recycled wool, but recycled tshirts and other recycled materials. Aren't they fun?


Thursday, May 13, 2010
Off Topic Thursday - a green tip!

We just recently celebrated Earth Day, and we all hear the same stuff over & over... use reusable bags, use florescent light bulbs, and use cloth instead of paper products. Here's a huge tip that I never have seen or heard anywhere, but will keep huge amounts of plastic out of our landfills, reduce mosquitoes around your home, make your yard look better, and save you money....
Put away the yard toys when the kids are done playing with them!
- How does this save huge amounts of plastic from the landfill?
Sunlight & weather destroys toys over time, and they end up in the landfill instead of another home... or 20! A sturdy plastic toy should be able to last for decades, but some don't last through one family when they are left out in the elements for years. It is also earth friendly, because the more toys that are able to be passed on, the less new toys are being manufactured. It's all about less waste!
- How does this reduce mosquitoes?
Mosquitoes lay their eggs in stagnant water. Toys left in the rain hold water.
- How does this save me money?
If you keep those toys put away in between uses, they will stay in great condition and hold their resale value. There's always someone willing to pay good money for a gently used brightly colored Cozy Coupe car with all it's decals, but the faded cracked water filled ones? Not so much.
See the crab pool in the picture above? I took this from the curbside on garbage day about 15 years ago, and it looks the same now as it did then because I keep it in the shed when we aren't using it. I am hoping that it will go on to many more families after we are done with it.
At first, when my son was tiny, it was a little annoying to put away the toys after every use, but now at 4, he automatically puts them away out of habit. For ease & convenience, we have a small shed in the backyard, where we keep all the toys and gardening supplies.
Wednesday, May 12, 2010
Recycled wool Ragamuffin giveaway!!

A while back (so sorry it took me this long, Tina!) I was the excited winner of Buddy, the recycled wool Ragamuffin, from a giveaway on Tina's, or Kaotic Krafter's, blog. Buddy arrived & was even cuter in real life, than he was in pictures! The problem? My son thinks he's scary! I tried putting Buddy away for a little while, and reintroducing him, but he wants Buddy gone! Buddy needs a new home, so I am giving him away. This giveaway has no fancy rules, but feel free to visit Buddy's creator in her shop or blog, just because Kaotic Krafters blog & shop are fun & worth checking out! To enter, just tell me you want to give Buddy a good home. One entry per person, please! I will pick a winner, via random.org, on Sunday night (May 16th, 2010) at midnight (central time zone), and will announce the winner on my blog on Monday morning. Please be sure to leave an email address, if it is not in your blog profile!

Tuesday, May 11, 2010
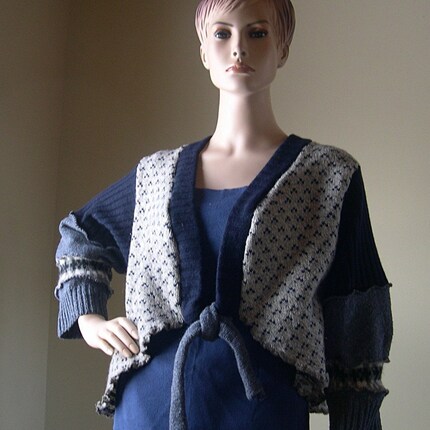
Tutorial Tuesday - Super easy recycled wool leg warmers

The weather can't make up it's mind lately, so it's nice to have an extra layer, especially when it's cute accessories! This tutorial is so easy, and will take you 5 minutes to make from start to finish.
First, take a soft, lightly felted sweater ... felted enough so it doesn't unravel at the seams, but still has some stretch. Make sure your sweater is big enough, at least a size bigger than what you wear, unless you want them form fitting. I chose a merino for mine this time. I will have to make myself some chunky ones in the winter!
Cut the arms off, cutting straight across, not on a slant at the seam.

Next, cut 2 pieces of ribbing from the waist of the sweater to your measurements. Measure around where you will want the top of your leg warmers to sit. I measured right below my knee. Remember that you want them to be a little snug. If thy are loose, they will not stay up.
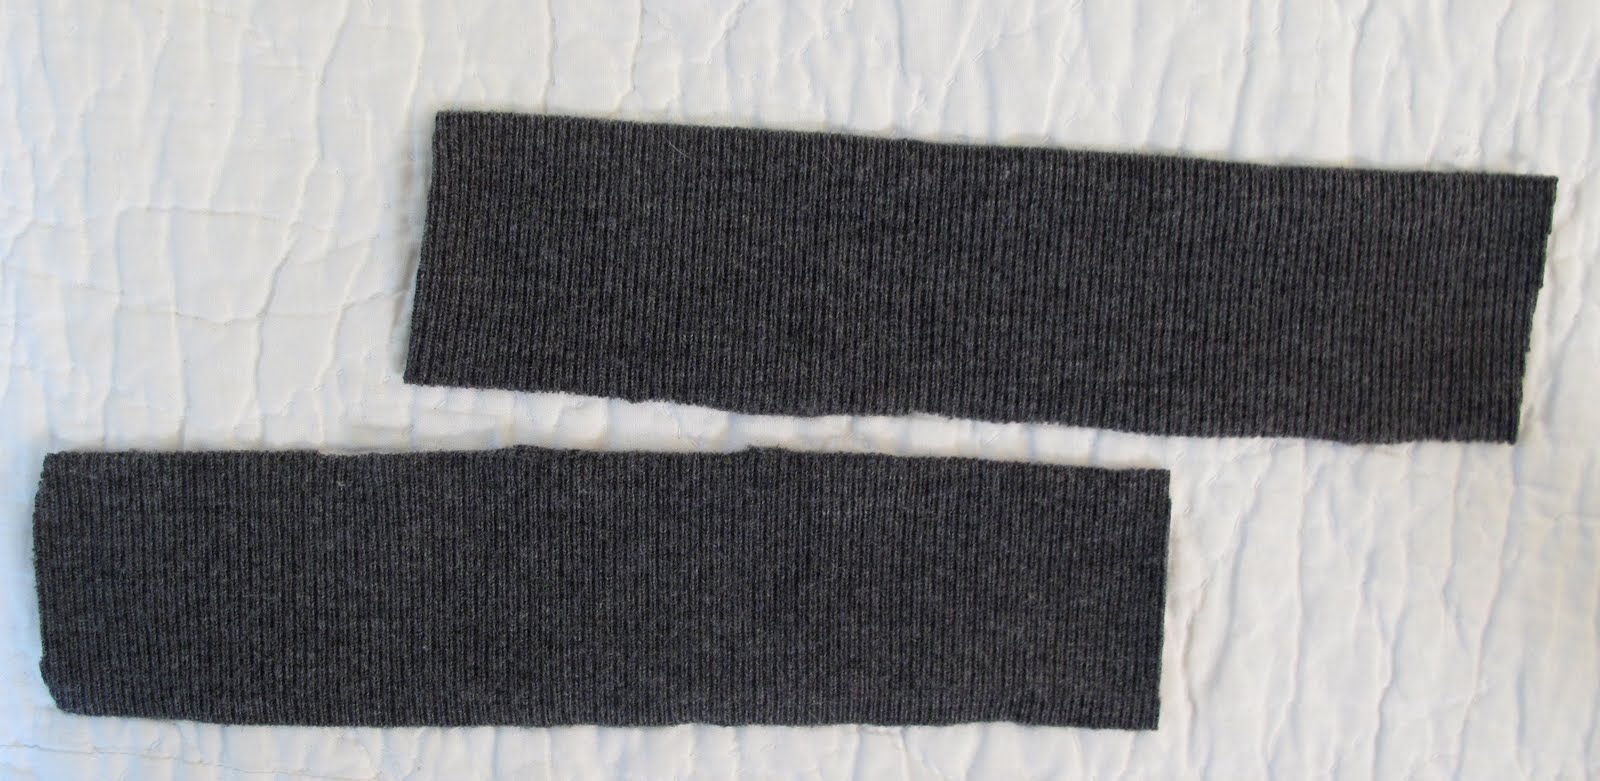
Now take those pieces of ribbing & sew them together to form cuffs, right sides in, so they will now look like this:

Now sew the cuffs onto the legs. Your cuffs will most likely be smaller than your leg opening, so you will need to stretch them as you sew. To make sure you are sewing the right sides together, your leg seam should be on the outside, and you should be able to see your cuff seam, like pictured below:

When you are done sewing, they should look like this:

Now, flip them inside out, and you have leg warmers!

See... I told you they were easy! Pair them up with a skirt, make some for your little girl to wear with her dresses, wear them to your dance class, or just wear them on the couch while watching Flashdance... the possibilities are endless! Enjoy!


* Yes, I am aware that the skirt and legwarmers do not match. I was too lazy to change outfits ;)
* No, you will look better in them than that. My size 11 wide feet seem to make everything look a little more clown-like than they really are.
Wednesday, May 5, 2010
The winners of the Babylegs good karma giveaway!
I went to random.org & the 2 winners are.... drum roll, please.....
#9:
" Misia Pepa Adventures said...
#9:
" Misia Pepa Adventures said...
I follow your blog!"
and #7:
" Brooke said...
I love the soft copper one! And I love baby legs... great for so many reasons! I used them as a cast cover for my daughter when she broke her leg when she was a year old... she kept pinching her toes in it! I am a blog follower, too!"
Congratulations Misia Pepa Adventures & Brooke!
Monday, May 3, 2010
Sweater Sunday will be late this week...
... but since it's Monday, you've probably already guessed that ;) I apologize to those who follow my blog, for not sticking to my blog schedule this week. It was whirlwind weekend... city wide garage sales, 2 birthday parties, switching out of furniture, and some personal stuff. Today is a doctor appointment and a first softball game, along with all the regular stuff. I promise i'll get back on track soon!
Subscribe to:
Posts (Atom)

